

I love making pizza dough at home, and it’s surprisingly easy! Just mix warm water with yeast and sugar, let it froth, then gradually add flour, salt, and olive oil. Knead it until smooth and let it rise until doubled in size. Once it’s ready, shape it into balls for your perfect pizza base. Trust me, the scent alone is worth it! If you stick around, I’ll share more tips to enhance your pizza-making experience.
History
When I think about the history of pizza dough, it’s fascinating to realize that this simple mixture of flour, water, yeast, and salt has roots stretching back thousands of years. The pizza origins trace back to ancient civilizations, where flatbreads were topped with local ingredients, serving as a canvas for creativity. As cultures mingled, the dough evolved, morphing through the ages into what we recognize today. I can’t help but marvel at how each twist and turn in its journey reflects the innovations of those who came before us. From humble beginnings in Naples to the gourmet varieties we enjoy now, the evolution of pizza dough continues to inspire culinary experimentation, inviting us to push boundaries and create our own delicious masterpieces.
Recipe
Making your own pizza dough at home is not only simple but also incredibly rewarding. With just a few basic ingredients, you can whip up a batch of dough that’s perfect for any pizza night. The texture of homemade dough is unmatched, providing a crispy crust that holds up to your favorite toppings while remaining chewy on the inside. Whether you’re planning a classic Margherita pizza or experimenting with gourmet toppings, this easy pizza dough recipe will serve as the ideal foundation.
The great thing about this recipe is its versatility. You can prepare the dough ahead of time and let it rest in the fridge, or you can make it fresh just before you’re ready to bake. Regardless of when you choose to make it, your homemade pizza will have a depth of flavor that store-bought options just can’t compete with. So gather your ingredients and get ready to create a delicious pizza that will impress family and friends alike!
Ingredients:
- 2 ¼ teaspoons active dry yeast
- 1 teaspoon sugar
- ¾ cup warm water (about 110°F)
- 2 cups all-purpose flour
- 1 teaspoon salt
- 1 tablespoon olive oil
Instructions:
In a small bowl, combine the warm water, sugar, and yeast, allowing it to sit for about 5-10 minutes until it becomes frothy. In a large mixing bowl, combine the flour and salt, then create a well in the center. Pour in the yeast mixture along with the olive oil. Stir the mixture until a dough begins to form, then knead on a floured surface for about 5-7 minutes until smooth and elastic. Place the dough in a lightly greased bowl, cover it with a damp cloth, and let it rise in a warm area for about 1 hour or until it has doubled in size.
Extra Tips:
For the best results, make sure your yeast is fresh and active, as this is vital for the dough to rise properly. If you prefer a thicker crust, you can let the dough rise for a longer period, or you can double the recipe for a larger pizza. Additionally, feel free to experiment with different types of flour, like bread flour for a chewier crust or whole wheat flour for a healthier option. Finally, don’t forget to preheat your oven adequately for the best baking results!
Cooking Steps
Now that we’ve got the ingredients ready, let’s get into the fun part—making the dough! I love starting by mixing warm water with yeast, watching it bubble like magic. From there, it’s all about adding flour gradually and kneading until it’s smooth and perfect for shaping.
Step 1. Mix Warm Water and Yeast
To get started on your pizza dough, I like to take about one cup of warm water and sprinkle in the yeast. It’s essential to get the water temperature just right—around 110°F—because this guarantees peak yeast activation. I gently stir the mixture until the yeast dissolves, releasing that delightful, slightly nutty aroma. Watching those tiny bubbles form is magical; it’s like the yeast is waking up, ready to work its wonders. I let it sit for about five to ten minutes until it’s frothy and alive, a sure sign it’s ready to go. This simple step is the foundation for a dough that’s not just good, but truly exceptional. Trust me, you won’t regret taking this time!
Step 2. Add Flour Gradually
With the yeast mixture bubbling away, it’s time to bring in the flour. I grab my mixing bowl and start with all-purpose flour, but feel free to experiment with whole wheat or even gluten-free types for a unique twist. Using a measuring cup, I level off the flour to guarantee I’m adding just the right amount. I pour it in gradually, mixing with a wooden spoon, letting the dough come together. This step is vital; it allows me to gauge the consistency. If it feels too sticky, I can always sprinkle in a bit more flour, adjusting as needed. The key is to embrace the process and find that perfect balance for a delightful pizza base!
Step 3. Knead Dough Until Smooth
I dive right into kneading the dough, feeling the comforting texture beneath my fingertips. As I work, I focus on perfecting my kneading techniques to achieve a smooth consistency. The dough transforms with each push and fold, becoming elastic and pliable. Here’s what I do:
- Press down with the heel of my hand, feeling the resistance.
- Fold the dough over itself, trapping air bubbles for a lighter crust.
- Rotate it a quarter turn, repeating the push and fold.
- Keep my hands lightly floured, preventing stickiness while enhancing dough texture.
After about 8-10 minutes, I can sense the dough’s readiness—it’s soft, smooth, and resilient, just waiting to rise and become a delicious pizza masterpiece!
Step 4. Let Dough Rise Covered
Now that the dough is kneaded to perfection, it’s time to let it rise. I like to cover my dough with a clean kitchen towel or plastic wrap, creating a cozy little environment for it. This step is essential; during the rise time, the dough transforms, becoming airy and light. I typically let it rest for about one to two hours, depending on the warmth of my kitchen. As I wait, I can almost envision the luscious pizza to come. When I check back, I’m always thrilled to see the dough texture change, expanding beautifully. The aroma of fermentation fills the air, signaling that my homemade pizza adventure is well underway. Trust me; this rise is where the magic happens!
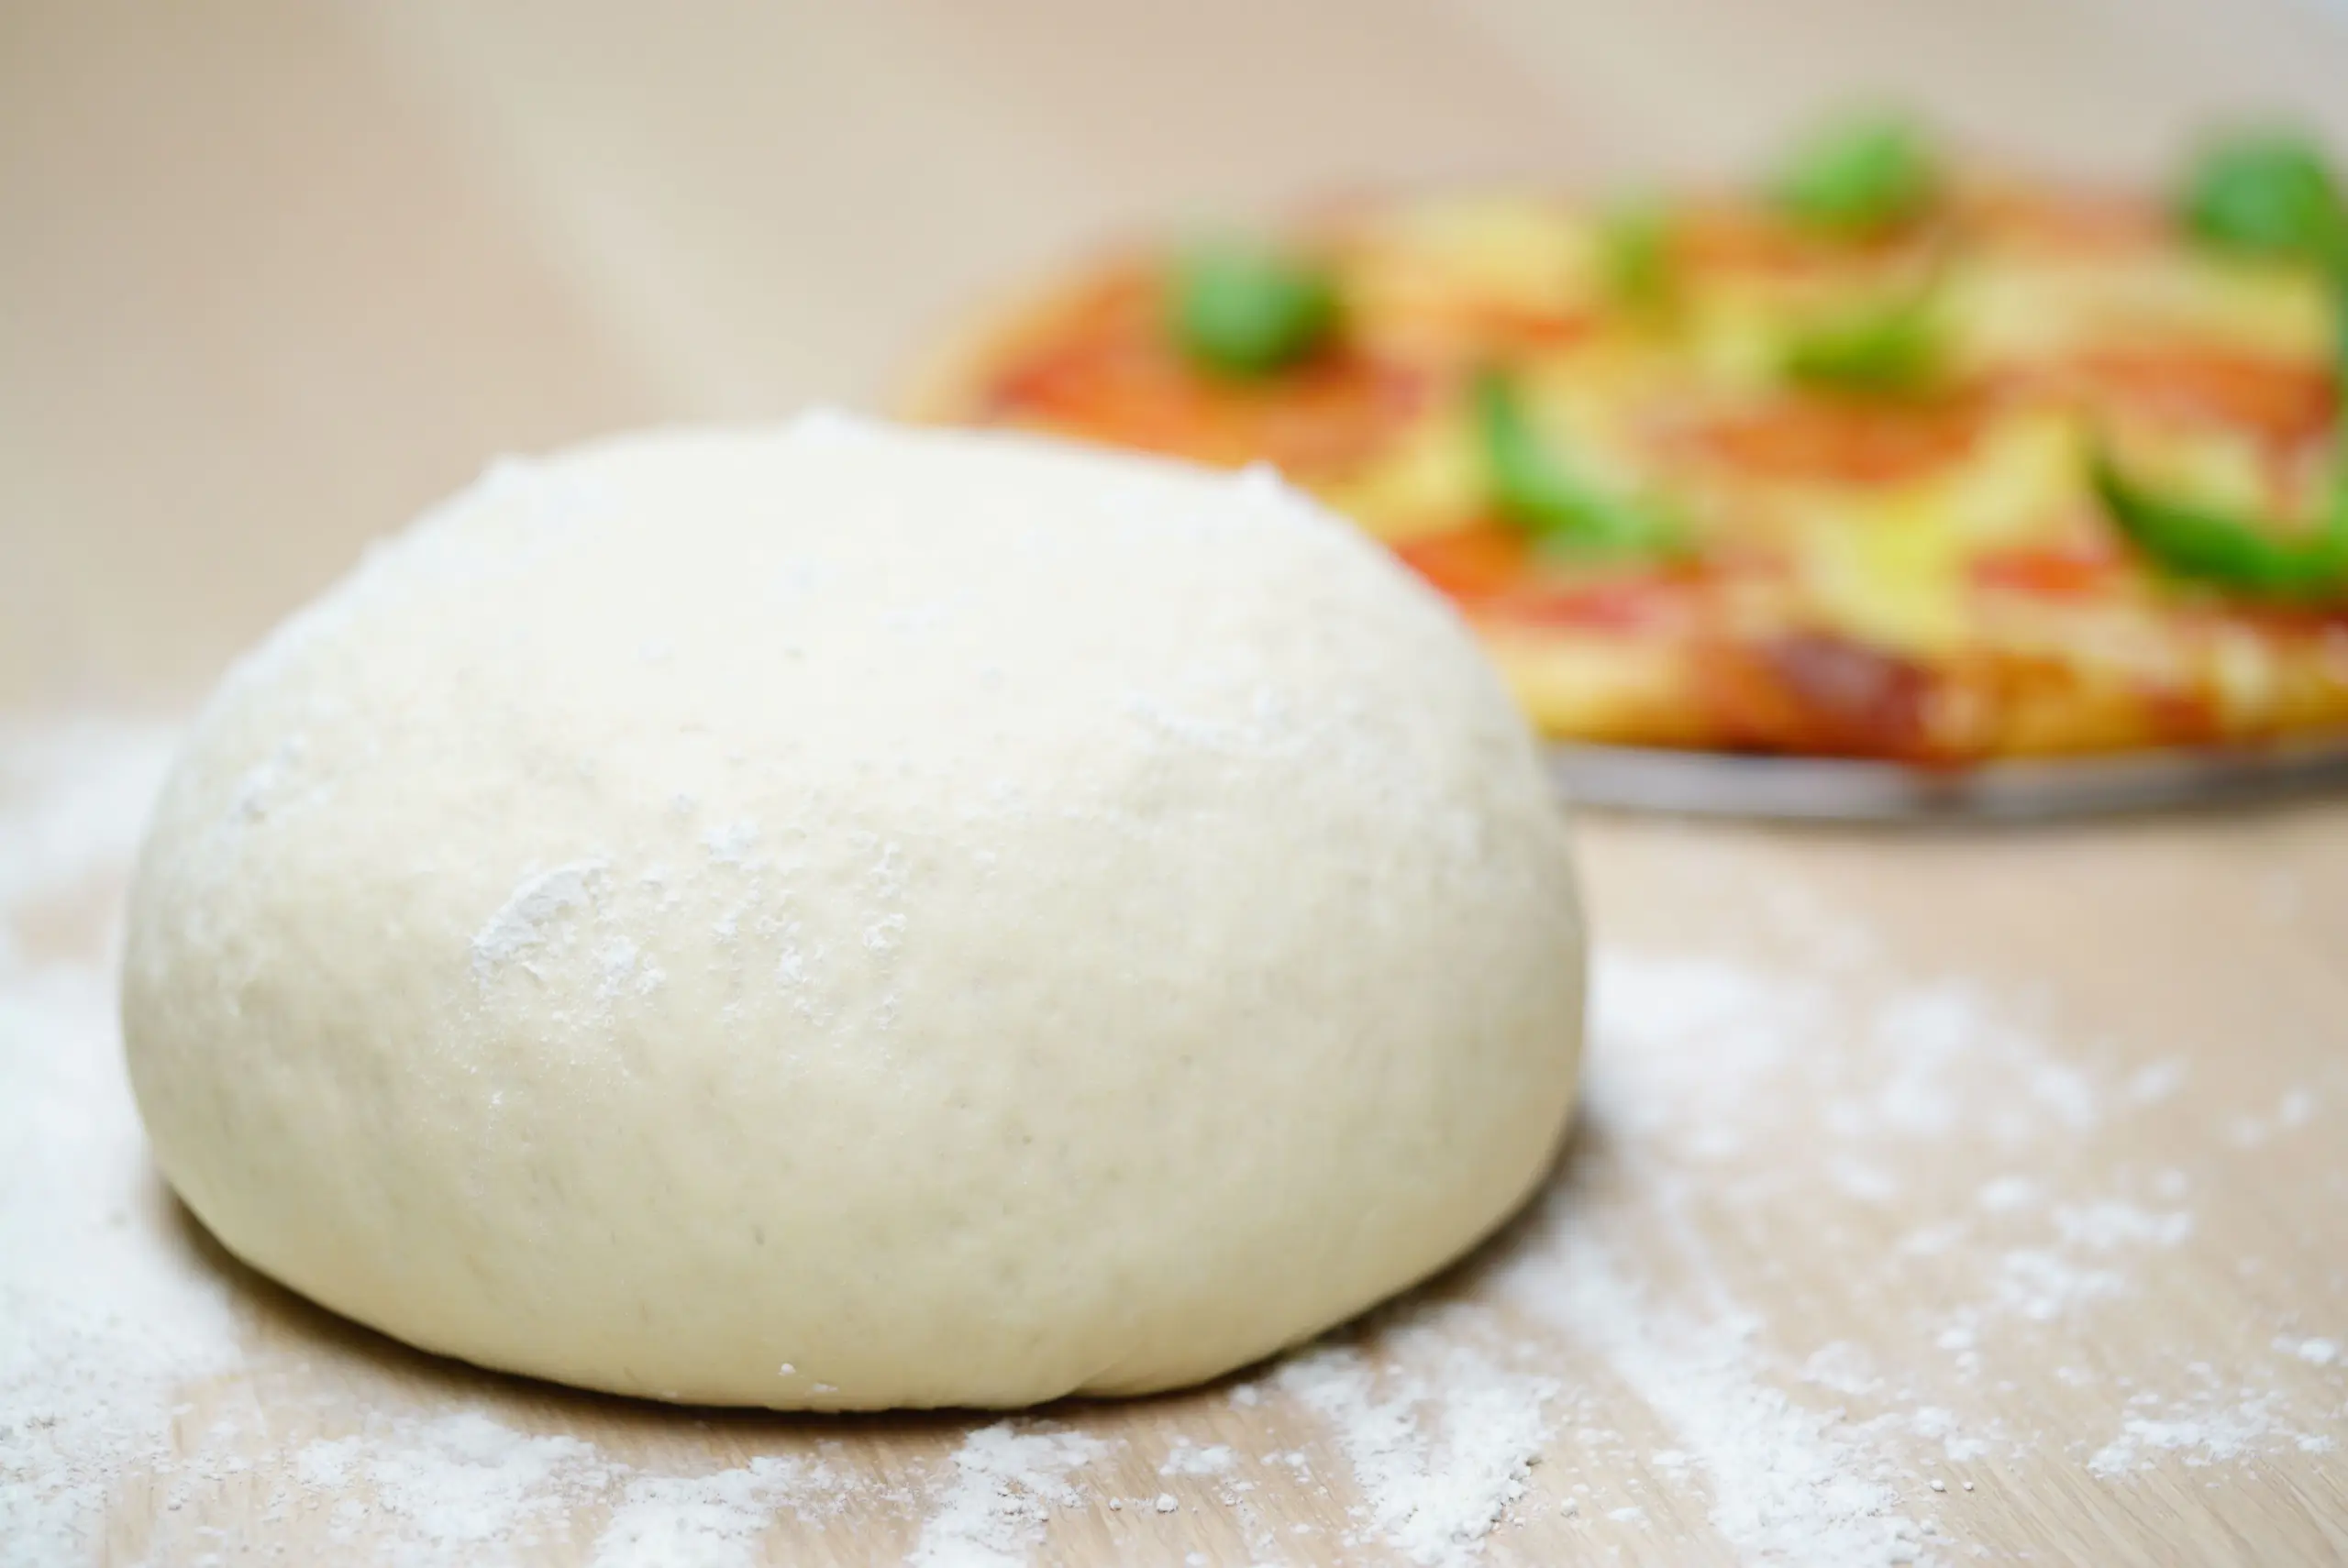
Step 5. Shape Dough Into Balls
Gently punch down the risen dough, releasing the air that’s built up during its time to rise. Now comes the fun part—shaping the dough into balls using some innovative dough shaping techniques! I like to follow these simple steps for perfect portions:
- Divide the dough into equal sections for better portion control, usually about 4-6 ounces each.
- Lightly flour your hands to prevent sticking as you work.
- Roll each section on a clean countertop, forming a smooth ball by cupping your hands around it.
- Place the shaped balls on a floured surface, leaving space for them to expand.
There’s something satisfying about this process, and these little dough balls are ready to become your delicious pizza bases!
Nutritional Guide
When crafting your pizza dough, it’s essential to contemplate the nutritional aspects that can enhance your meal. Understanding the caloric content and ingredient benefits helps me create a healthier version of this classic dish. Here’s a quick guide to some common ingredients I use:
| Ingredient | Caloric Content (per 100g) |
|---|---|
| All-purpose flour | 364 |
| Olive oil | 884 |
| Yeast | 325 |
| Sugar | 387 |
| Salt | 0 |
Choosing whole grain flour can boost fiber, while olive oil adds healthy fats. These small tweaks not only elevate the flavor but also contribute to a more balanced meal. So, let’s innovate our pizza dough together!
Final Thoughts
Although pizza dough might seem simple, the choices we make in our ingredients can transform the final product into something truly special. When I prepare my pizza, I love to think about the exciting possibilities. Here are my favorite elements to elevate your creation:
Pizza dough may appear straightforward, but thoughtful ingredient choices can elevate it into a delightful culinary experience.
- Flour Type: Experiment with bread flour for a chewier crust or 00 flour for a lighter texture.
- Herbs and Spices: Infuse your dough with dried oregano or garlic powder for extra flavor.
- Unique Pizza Toppings: Think beyond pepperoni; try arugula, figs, or smoked salmon!
- Baking Techniques: Use a pizza stone or steel for that perfect crispy bottom.
Embrace creativity, and you’ll discover that each pizza becomes a masterpiece worth sharing!
Frequently Asked Questions
Can I Freeze the Pizza Dough for Later Use?
Think of your pizza dough as a treasure waiting to be unearthed. I’ve frozen mine using airtight bags, then thawed it in the fridge overnight. It’s a game-changer for spontaneous pizza nights!
What Type of Flour Is Best for Pizza Dough?
When I make pizza dough, I love using bread flour for that chewy texture. All-purpose flour works too, but bread flour truly elevates my pizza game, giving it the perfect balance of crispiness and tenderness.
How Long Can I Store Leftover Dough in the Fridge?
Did you know homemade dough can last up to five days in the fridge? I love storing leftover dough; its fridge shelf life allows me to whip up spontaneous pizza nights whenever inspiration strikes.
Can I Make This Dough Without Yeast?
Absolutely, I’ve experimented with yeast alternatives like baking powder and soda. These no yeast recipes keep the dough light and fluffy, making it easy to whip up a delicious crust without waiting for yeast to rise!
What Toppings Pair Well With Homemade Pizza Dough?
When I make pizza, I love pairing pepperoni slices with a veggie medley or mixing cheese varieties. Sometimes, I get adventurous with seafood toppings, spicy sauces, fresh herbs, or even sweet toppings for gourmet options!
Conclusion
In the grand tapestry of culinary history, pizza dough has stood the test of time, much like the classic typewriter in the digital age. As you roll out your easy pizza dough, think of the generations that have savored this delight. It’s not just a meal; it’s a canvas for your creativity, a slice of joy to share with loved ones. So go ahead, embrace your inner pizzaiolo, and let the delicious aromas fill your home. Enjoy every bite!
Easy Pizza Dough Recipe
Ingredients
Equipment
Method
- In a large bowl, mix warm water, sugar, and yeast. Let sit for 5–10 mins until frothy.
- Add flour, salt, and olive oil to the yeast mixture. Stir until a shaggy dough forms.
- Turn onto a floured surface and knead for 5 mins until smooth (or use a stand mixer with a dough hook).
- Place dough in a greased bowl, cover with a towel, and let rise in a warm place for 1 hour or until doubled.
- Punch down dough, divide if needed, and roll out on a floured surface. Add toppings.
- Preheat oven to 475°F (245°C). Bake for 12–15 mins until crust is golden.
Notes
- Make-Ahead: Refrigerate dough for up to 48 hours (punch down if it rises).
- Freezing: Wrap tightly and freeze for up to 3 months. Thaw overnight in the fridge.
- Crispier Crust: Preheat a pizza stone or baking sheet before baking.