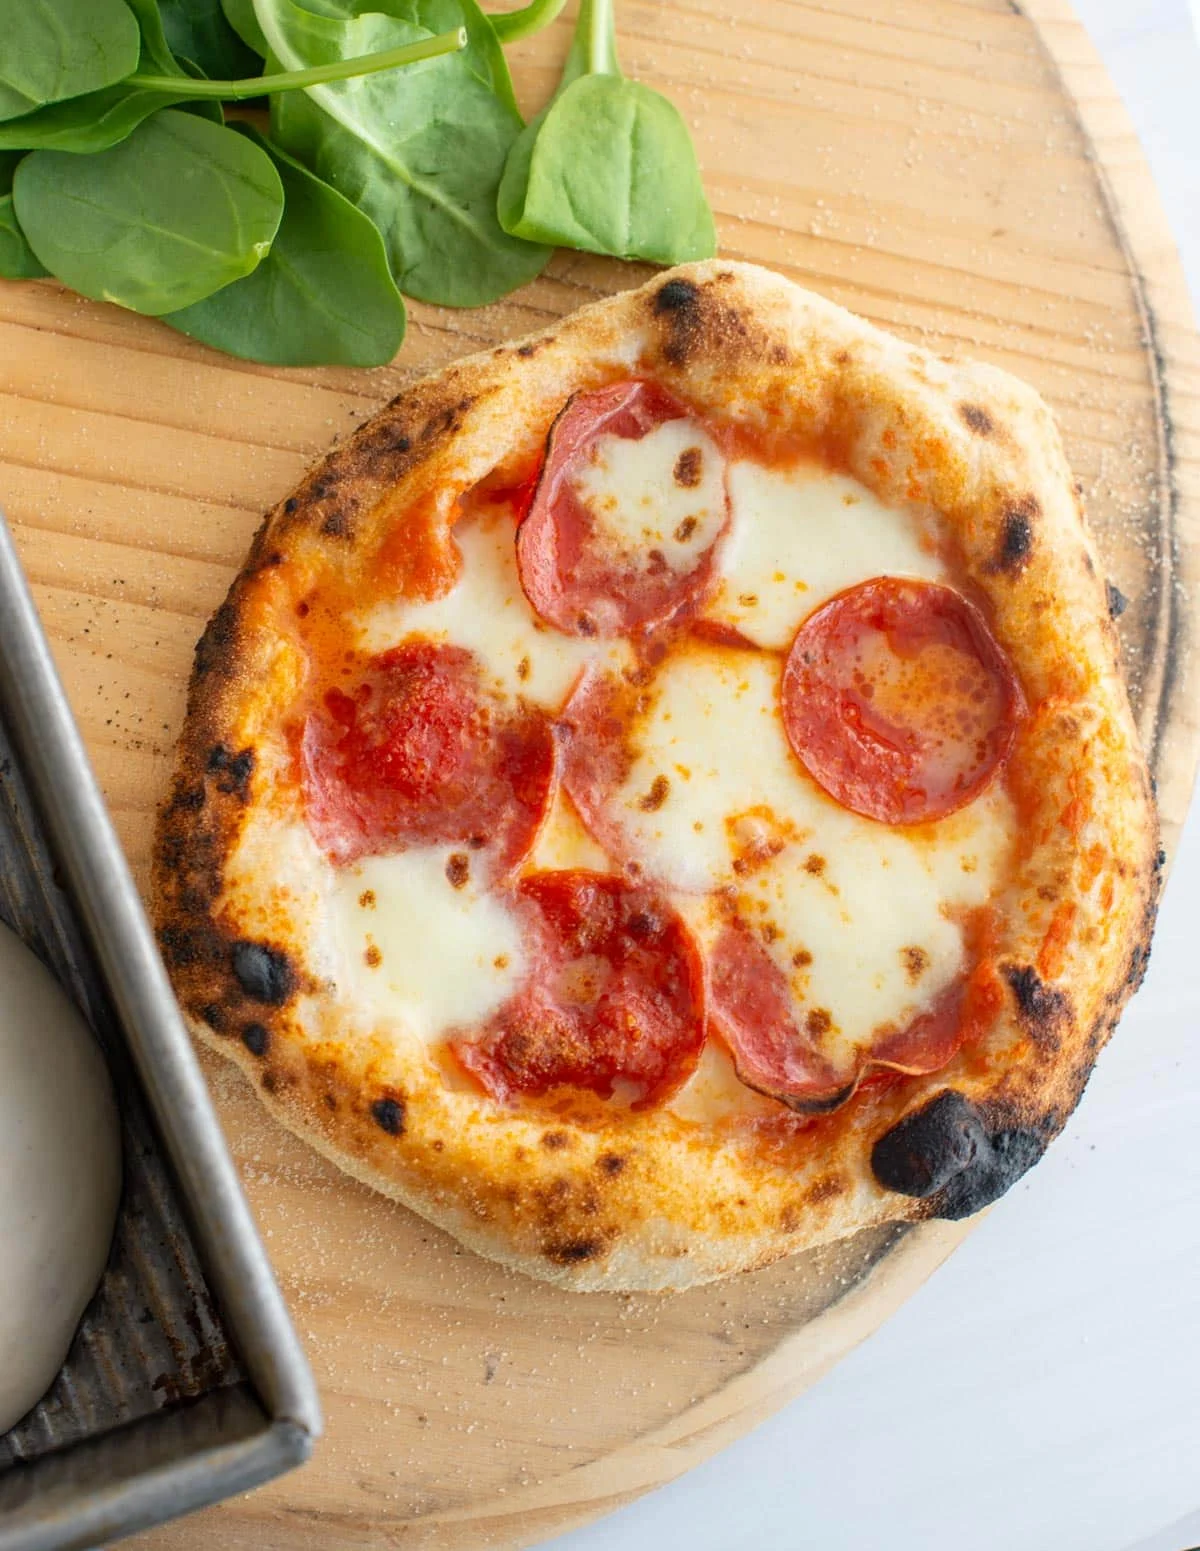
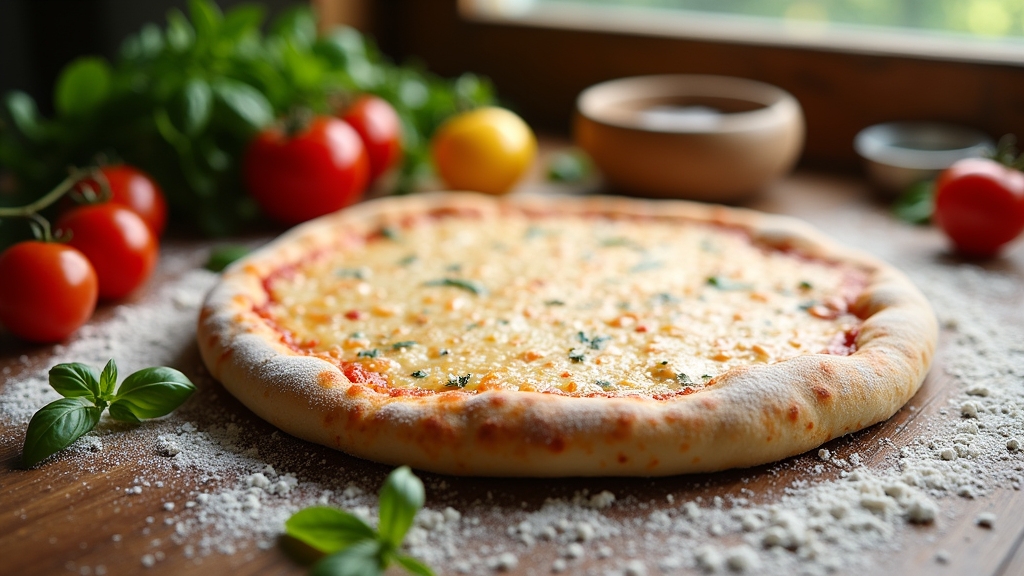
I’ve perfected a simple pizza crust recipe that anyone can master! You’ll need active dry yeast, warm water, all-purpose flour, olive oil, sugar, and salt. First, activate the yeast, then mix and knead the dough until it’s elastic. Let it rise, shape it, and you’re ready to bake at 475°F! This crust will elevate your pizza’s flavor and texture. If you keep going, I’ll share more about experimenting with different variations and nutritional benefits!
History
When I think about the history of pizza crust, I can’t help but marvel at how this simple bread has evolved over centuries. Its ancient origins trace back to the flatbreads of the Mediterranean, where various cultures experimented with toppings and flavors. Each region added its twist, giving rise to cultural variations that reflect local ingredients and traditions. Imagine the soft, chewy crusts of Neapolitan pizza or the thick, hearty style of Chicago deep-dish. Each bite tells a story of innovation and adaptation. As I explore these different styles, I realize that pizza crust isn’t just a base; it’s a canvas for culinary creativity that connects us across time and geography. What a delicious journey!
Recipe
Making the perfect pizza crust at home can elevate your pizza game to a whole new level. With just a few simple ingredients, you can create a delicious base that is sure to impress your family and friends. Whether you prefer a thick and chewy crust or a thin and crispy one, this recipe is versatile enough to accommodate your taste. The key is to give the dough enough time to rise, allowing it to develop that perfect texture and flavor.
To prepare your pizza crust, you’ll need to gather a few basic ingredients that you likely already have in your pantry. The process is straightforward and rewarding, yielding a fresh and homemade crust that can be topped with your favorite sauces and ingredients. Get ready to roll up your sleeves and create a delightful pizza experience right in your kitchen!
Ingredients:
- 2 ¼ teaspoons active dry yeast
- 1 ½ cups warm water (about 110°F)
- 3 ½ to 4 cups all-purpose flour
- 2 tablespoons olive oil
- 1 teaspoon sugar
- 1 teaspoon salt
Combine the warm water, sugar, and yeast in a bowl, stirring gently. Let it sit for about 5-10 minutes until frothy. In a large mixing bowl, combine 3 ½ cups of flour and salt, then make a well in the center. Pour in the yeast mixture and olive oil, and mix until a dough forms. Knead on a floured surface for about 8-10 minutes, adding more flour if necessary, until smooth and elastic. Place the dough in a greased bowl, cover it with a damp cloth, and let it rise in a warm place for 1-2 hours or until doubled in size. Once risen, punch down the dough, divide it into two portions for two pizzas, roll out to desired thickness, and top with your favorite ingredients before baking at 475°F for about 12-15 minutes.
For best results, make sure that your ingredients are at room temperature, as this can help the yeast activate more effectively. Also, consider letting your dough rise in a warm, draft-free environment for ideal results. If you prefer a crispier crust, pre-bake the crust for a few minutes before adding the toppings. Feel free to experiment with different types of flour, such as bread flour for a chewier texture or whole wheat flour for a healthier option. Enjoy your homemade pizza crust and get creative with your toppings!
Cooking Steps
Now that we have our ingredients ready, it’s time to bring the pizza crust to life with some simple steps. I’ll guide you through mixing the yeast and water, kneading the dough, and letting it rise to perfection. Just follow along, and soon enough, you’ll be shaping your dough and adding all your favorite toppings!
Step 1. Mix Yeast and Water
To kick off your pizza crust journey, I usually start by mixing together one packet of active dry yeast with a cup of warm water. The key here is the water temperature; it should be around 110°F, which is perfect for yeast activation. Too hot, and you’ll kill the yeast; too cold, and it won’t wake up. I gently stir the mixture, watching as the yeast begins to dissolve and bubble, releasing that unmistakable aroma of fermentation. It’s a magical moment that tells me my dough will rise beautifully. I let this mixture sit for about five minutes, allowing the yeast to become activated. This step sets the foundation for a crust that’s airy and light, ready to hold all those delicious toppings.
Step 2. Knead the Dough Thoroughly
With the yeast mixture bubbling away, it’s time to bring everything together. I pour the flour onto my work surface, creating a well in the center, and add the yeast mix. As I combine the ingredients, I can feel the dough beginning to form. Now comes the fun part: kneading! I use various kneading techniques, pressing and folding the dough with intention. I can already sense the dough’s elasticity improving with each push. It’s vital to knead thoroughly for about 8-10 minutes, allowing the gluten to develop fully. This will result in a light, airy crust that’s a delight to bite into. Trust me, this step is pivotal for achieving that perfect pizza crust texture!
Step 3. Let Dough Rise Warmly
As the dough rests, I find that allowing it to rise in a warm environment is essential for achieving that perfect texture. The ideal dough temperature should be around 75 to 80 degrees Fahrenheit, promoting yeast activity and resulting in a beautifully airy crust. To create this warm space, I often place the dough in an oven preheated to the lowest setting for just a few minutes, then turn it off. This cozy environment encourages a rising time of about one to two hours, depending on the recipe and specific conditions. I love watching the dough transform, expanding and bubbling, signaling it’s ready for the next step. This patience pays off, resulting in a crust that’s both chewy and crisp.
Step 4. Shape the Dough Into Rounds
Gently press down on the risen dough, releasing any trapped air as you prepare to shape it into rounds. I like to divide the dough into equal portions, depending on how many pizzas I want to make. With floured hands, I take one piece and start the dough shaping process. I tuck the edges into the center, creating a tight ball, and then roll it gently on the countertop. This round formation not only guarantees an even cook but also gives a professional touch to my pizzas. As I repeat this for each portion, I can’t help but admire the transformation. Each round becomes a canvas, ready for my culinary creativity. Trust me, perfecting this step is vital for a stellar pizza experience!
Step 5. Add Toppings of Choice
Once you’ve shaped your dough into perfect rounds, it’s time to release your creativity by adding toppings that excite your taste buds. I love experimenting with unique topping combinations that can elevate my pizza game. For a classic twist, I might layer on rich marinara sauce, gooey mozzarella, and pepperoni. But don’t shy away from bold flavors! Try fig jam, prosciutto, and arugula for a gourmet touch. My favorite toppings often include roasted vegetables, fresh basil, and a drizzle of balsamic glaze. The possibilities are endless! Whether you prefer traditional or adventurous, mix and match until you find the perfect blend. Remember, this is your canvas—let your imagination run wild and create a masterpiece that reflects your palate!
Nutritional Guide
When it comes to enjoying pizza, it’s easy to overlook the nutritional value of the crust. However, understanding its caloric content and ingredient benefits can transform your pizza experience. I’m excited to share a quick guide to help you make informed choices.
| Ingredient | Benefit |
|---|---|
| Whole Wheat Flour | High in fiber, aids digestion |
| Olive Oil | Heart-healthy fats |
| Yeast | Probiotic properties |
| Salt | Essential minerals |
| Water | Hydration, metabolic function |
Choosing the right crust ingredients not only enhances flavor but also boosts nutrition. By being mindful of what goes into your pizza crust, you can enjoy a delicious meal that supports your health goals.
Final Thoughts
As I reflect on the importance of a well-crafted pizza crust, it’s clear that this often-overlooked component can elevate your pizza experience to new heights. The right crust not only complements your toppings but also enhances the overall flavor profile. With so many crust variations available—think thin, thick, gluten-free, or even cauliflower—there’s a perfect match for every pizza preference. Experimenting with different flours, hydration levels, and fermentation times can transform a simple recipe into a gourmet adventure. So, don’t shy away from innovation! Your next pizza night could become a culinary exploration. Embrace the art of crust-making, and you’ll find that a delicious base can turn even the simplest ingredients into an unforgettable meal.
Frequently Asked Questions
Can I Use Gluten-Free Flour for the Pizza Crust?
Absolutely, I’ve experimented with gluten-free substitutes, and while the flour texture differs, it can still yield delicious results. Just be mindful of combining flours for the best consistency and flavor in your dishes!
How Can I Store Leftover Pizza Crust?
I love saving leftover pizza crust! For ideal storage, I wrap it tightly in plastic wrap, then place it in an airtight container. This keeps it fresh and ready for my next culinary adventure with creative toppings!
What Toppings Pair Well With This Pizza Crust?
Imagine a canvas ready for a masterpiece! I love pairing rich mozzarella with tangy goat cheese and drizzling zesty marinara or smoky barbecue sauce. It’s a flavor explosion that’ll elevate any meal to culinary art!
How Long Does the Pizza Dough Need to Rise?
I let my dough rise for about one to two hours, allowing the fermentation process to work its magic. This time transforms the dough, creating a light, airy texture that makes every bite unforgettable.
Can I Freeze the Pizza Dough for Later Use?
I freeze my dough using airtight containers, ensuring it maintains its perfect consistency. Just remember to let it thaw slowly in the fridge before using it again. It’s a game-changer for busy nights!
Conclusion
Who knew that creating the perfect pizza crust could be so simple? I mean, you’d think it requires a secret family recipe passed down through generations, right? But here I am, sharing my newfound love for this easy, homemade dough. It’s a delightful surprise to discover that the magic of pizza night lies not in a fancy pizzeria but in your very own kitchen. So grab your ingredients, and let’s turn your home into the hottest pizza joint in town!

Pizza Crust Recipe
Ingredients
Equipment
Method
- Sauté Garlic: Heat olive oil in a saucepan over medium heat. Add minced garlic and sauté for 30 seconds until fragrant (avoid browning).
- Add Tomatoes: Pour in crushed tomatoes, stirring to combine.
- Season: Add oregano, basil, salt, pepper, red pepper flakes (if using), and sugar. Stir well.
- Simmer: Reduce heat to low and let the sauce simmer for 8-10 minutes, stirring occasionally.
- Blend (Optional): For a smoother sauce, blend with an immersion blender or transfer to a countertop blender.
- Cool & Use: Allow the sauce to cool slightly before spreading on pizza dough. Store leftovers in an airtight container for up to 1 week or freeze for 3 months.
Notes
- No-Cook Option: Skip simmering for a fresher, chunkier sauce—just mix all ingredients and use immediately.
- Variations: Add 1 tbsp tomato paste for thickness or ½ tsp balsamic vinegar for depth.
- Storage: Freeze in ice cube trays for portioned use.

