

I love making cake pops! Just take your favorite baked cake and crumble it together with some frosting until it forms a doughy mixture. Shape this into bite-sized balls and chill them for at least 30 minutes. Then, dip each ball in melted chocolate or candy melts, letting the excess drip off. Decorate with sprinkles for that extra flair. It’s such a fun treat, and there’s so much more to discover about creating these delightful bites!
History
While I was diving into the delightful world of cake pops, I discovered that their history is as sweet as the treats themselves. Originating from the cake evolution of the early 2000s, these charming bites emerged as a playful response to the growing dessert trends favoring portability and creativity. Bakers began repurposing leftover cake scraps, mixing them with frosting, and shaping them into bite-sized spheres on sticks. This innovative approach not only minimized waste but also allowed for endless flavor combinations and decorative possibilities. As cake pops gained popularity, they transformed into a canvas for artistic expression, enthralling dessert lovers and event planners alike. Today, they stand as a hallmark to how tradition can inspire modern innovation in the culinary world.
Recipe
Cake pops are a delightful treat that combines the joy of cake with the fun of lollipops, making them perfect for parties, celebrations, or just a sweet snack at home. These bite-sized desserts are made by crumbling baked cake and mixing it with frosting, then rolling the mixture into balls, coating them in chocolate, and placing them on sticks. Not only are cake pops delicious, but they also allow for creative decoration, making them a fun project for bakers of all ages.
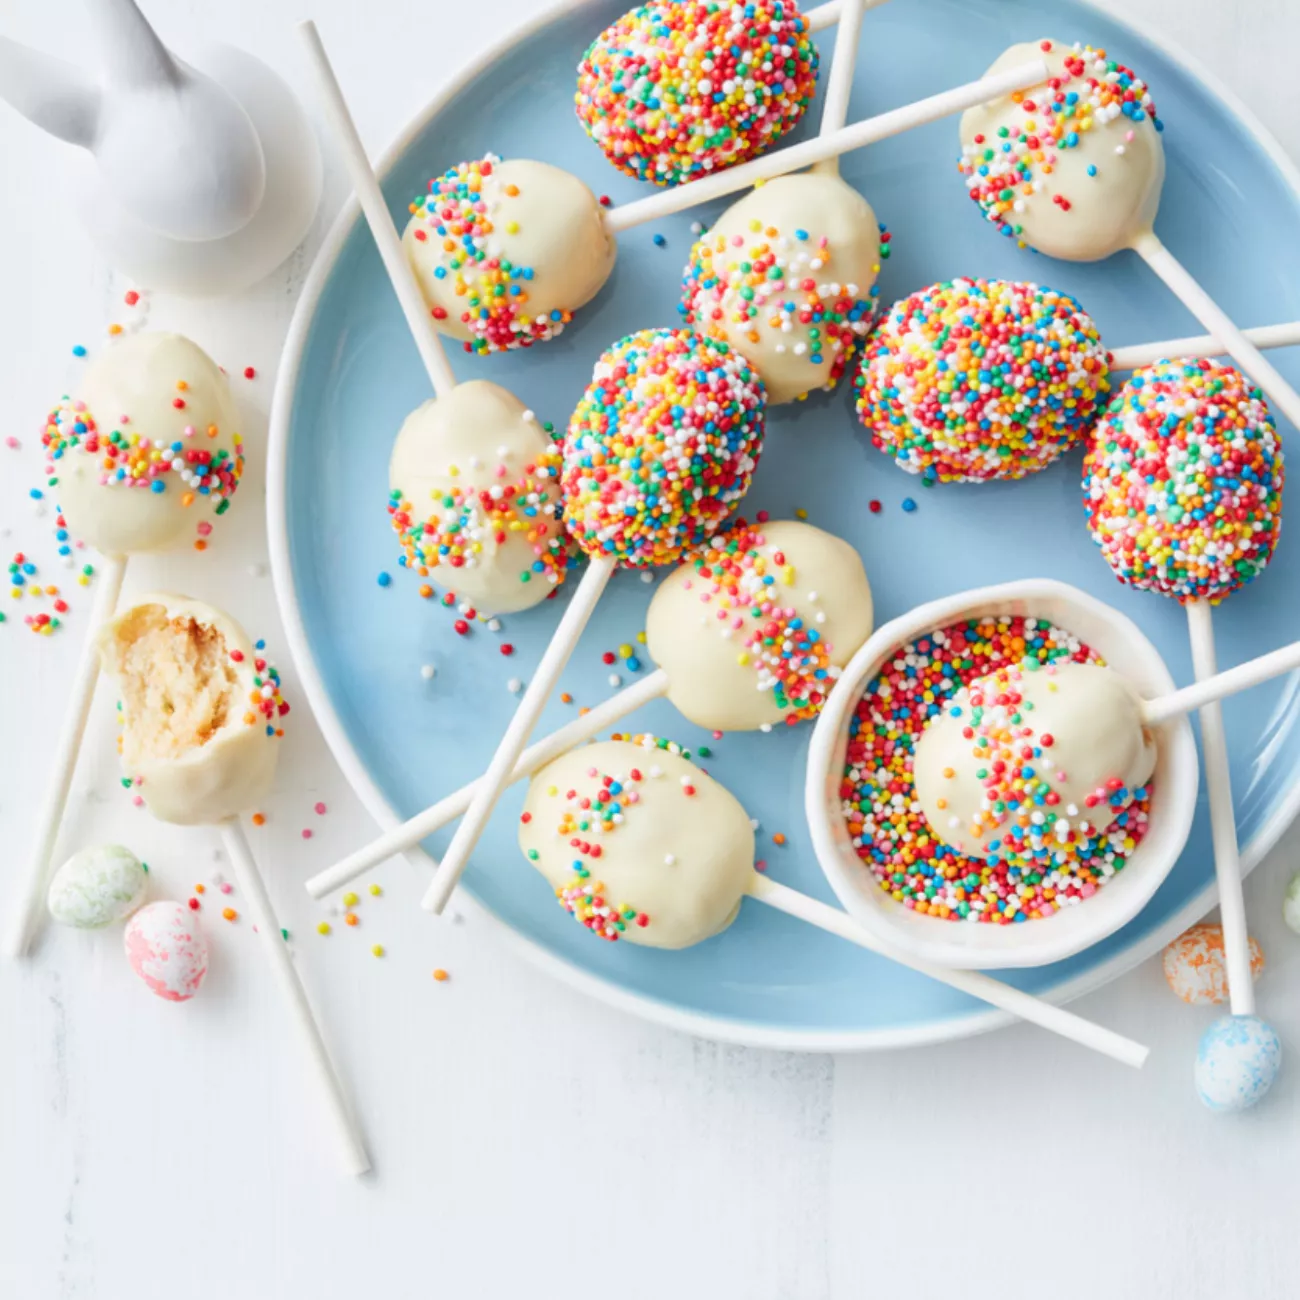
Cake pops blend the joy of cake with lollipop fun, perfect for any celebration or sweet snack at home.
Creating cake pops can be a simple and enjoyable process. You can use any flavor of cake and frosting to customize your pops to your taste. Once you master the basic technique, the possibilities are endless—experiment with different coatings, sprinkles, and even fillings to make your cake pops unique. These little treats are sure to impress your friends and family, and they are a great way to use up leftover cake!
Ingredients:
- 1 baked cake (any flavor)
- 1 cup frosting (matching cake flavor)
- Candy melts or chocolate chips (for coating)
- Lollipop sticks
- Sprinkles (optional, for decoration)
Instructions:
Start by crumbling the baked cake into a large mixing bowl until it resembles fine crumbs. Add the frosting gradually, mixing until the mixture holds together but is not too wet. Roll the mixture into small balls, about 1 inch in diameter, and place them on a baking sheet lined with parchment paper. Insert lollipop sticks into the center of each ball and freeze for at least 30 minutes. Meanwhile, melt the candy melts or chocolate chips according to the package instructions. Once the cake pops are firm, dip each one into the melted chocolate, allowing any excess to drip off before placing them back on the parchment-lined sheet. Decorate with sprinkles if desired and let them set until the coating hardens.
Extra Tips:
When making cake pops, it’s important to verify that the mixture is not too wet or too dry, as this will affect the final shape and coating. If your mixture feels too crumbly, you can add a little more frosting; if it’s too wet, try adding more cake crumbs. For a smoother finish on your chocolate coating, you can add a teaspoon of vegetable oil to the melted chocolate to help it glide over the cake pops. Finally, experiment with different flavors and colors to make your cake pops festive for any occasion!
Cooking Steps
Now that we’ve got our cake base ready, I’m excited to walk you through the cooking steps that’ll transform it into delightful cake pops. First, I’ll show you how to form the mixture into bite-sized balls, and then we’ll chill them to guarantee they hold their shape. Once that’s done, we’ll coat them in rich chocolate and add a sprinkle of fun on top!
Step 1. Prepare Cake Base Mixture
To create the perfect cake base mixture for your cake pops, I start by gathering all the necessary ingredients. I typically use a box of cake mix for convenience, but I love experimenting with flavor variations—think red velvet or lemon zest! Once I have my mix, I combine it with eggs, oil, and water, stirring until the batter is smooth and lump-free. The key is to be mindful of the consistency; it should be thick yet pourable. I often add a splash of vanilla extract or almond flavoring for an extra kick. After pouring the mixture into a greased baking pan, I bake it according to the package instructions. The aroma wafting through my kitchen is simply irresistible!
Step 2. Form Into Bite-Sized Balls
Once the cake has cooled completely, it’s time to bring your creation to life by forming it into bite-sized balls. I start by breaking the cake into fine crumbs in a large bowl, guaranteeing no large chunks remain. Then, I use my hands to combine the crumbs with frosting, an essential step in mastering cake pop techniques. I find that using a bit of pressure helps with shaping methods, forming uniform balls about one inch in diameter. Keep your hands slightly damp to prevent sticking and create a smooth surface. As I shape each ball, I can already envision the delightful treats they’ll become. This step is critical, so take your time to make sure they’re perfectly formed and ready for the next stage!
Step 3. Chill Before Coating
Before I plunge into the coating process, I always make sure to chill the cake balls for at least 30 minutes. This chill duration is essential, as it helps them firm up, making the coating process smoother and more successful. I usually opt for one of these cooling methods:
- Refrigerator: Placing them in the fridge is my go-to; the cold air circulates nicely, ensuring even cooling.
- Freezer: If I’m in a hurry, the freezer works wonders, but I limit it to about 10 minutes to avoid freezing them solid.
- Cooling Rack: For a quick cool-down, I sometimes use a cooling rack to allow air to circulate around the cake balls.
This step truly makes a difference in achieving that perfect coating!
Step 4. Dip in Chocolate Coating
With the cake balls nicely chilled, it’s time to coat them in luscious chocolate. I like to melt a mixture of dark and milk chocolate for a rich flavor, but you can experiment with white chocolate or even specialty varieties like caramel or mint. Using a fork, I dip each chilled cake ball into the melted chocolate, guaranteeing it’s completely covered. A gentle shake helps remove excess coating, giving it a smooth finish. For an innovative touch, I sometimes swirl the chocolate to create unique patterns. Letting the coated cake pops rest on parchment paper guarantees they set perfectly. Mastering these coating techniques elevates your cake pops and adds a professional flair to your delightful treats!
Step 5. Add Sprinkles or Toppings
Now that your cake pops are beautifully coated in chocolate, it’s time to add a splash of color and texture with sprinkles or toppings. This is where your creativity can really shine! Choose from an array of sprinkle varieties or topping suggestions to make each pop unique. Here’s what I love to use:
- Colorful Sprinkles: Opt for classic rainbow or themed sprinkles to match the occasion.
- Chopped Nuts: Add a crunchy twist with almonds, walnuts, or pistachios for an unexpected flavor.
- Edible Glitter: Elevate your cake pops with a touch of shimmer that’ll catch everyone’s eye.
Sprinkles and toppings not only enhance the visual appeal but also add delightful taste and texture to your cake pops. Enjoy experimenting!
Nutritional Guide
While indulging in the delightful world of cake pops, it’s essential to contemplate their nutritional value. Understanding the calorie count and ingredient benefits can help you enjoy these treats mindfully. With a mix of cake and frosting, cake pops can be both a sweet indulgence and a source of energy.
Here’s a quick look at the nutritional aspects:
| Ingredient | Calorie Count (per pop) | Benefits |
|---|---|---|
| Cake (chocolate) | 100 | Antioxidants, flavor |
| Frosting | 50 | Creamy texture, sweetness |
| Chocolate coating | 60 | Healthy fats, indulgence |
Final Thoughts
Enjoying cake pops is a delightful experience, and considering their nutritional value adds an extra layer of awareness to this treat. As we plunge into the creative world of cake pops, I can’t help but get excited about the latest cake pop trends and innovative decorating techniques. Here are a few ideas to keep your cake pops fresh and appealing:
- Unique Flavor Combinations: Experiment with unexpected flavors like lavender or matcha to surprise your taste buds.
- Themed Decorations: Use seasonal colors and motifs to match celebrations, making every occasion special.
- Healthier Alternatives: Consider substituting traditional ingredients with gluten-free or vegan options to cater to diverse dietary needs.
With these tips, you’ll elevate your cake pop game and enjoy every bite even more!
Frequently Asked Questions
Can I Use Gluten-Free Cake Mix for Cake Pops?
I love exploring gluten-free options, and I’ve found that using gluten-free cake mix varieties works great. They create deliciously moist cake pops, ensuring everyone can enjoy this fun treat without compromising on taste.
How Do I Store Leftover Cake Pops?
To store leftover cake pops, I recommend using airtight cake pop containers. The best storage method keeps them fresh and tasty for longer. Just pop them in the fridge, and they’ll be ready for your next treat!
Can I Freeze Cake Pops for Later Use?
Like a treasure waiting to be uncovered, I’ve found that freezing cake pops is possible! Using proper freezing techniques, I simply seal them well and later thaw using gentle methods for delightful results.
What Are Some Alternative Coatings for Cake Pops?
When I make cake pops, I love experimenting with chocolate alternatives like white chocolate or dark chocolate. Candy coatings in vibrant colors also add fun flair, making each pop as unique and exciting as the flavors inside!
How Long Do Cake Pops Typically Last?
Cake pops typically last about three to five days. I always follow best practices, like storing them in a cool place, to maximize their shelf life. Freshness enhances the flavor and enjoyment of every bite!
Conclusion
As I take a bite of the vibrant cake pop, the sweet, velvety cake melts in my mouth, and the crisp chocolate coating adds a delightful crunch. Each colorful sprinkle dances on my tongue, turning an ordinary treat into a whimsical experience. Whether you’re whipping these up for a party or just indulging yourself, cake pops are sure to bring a smile. So grab your ingredients and let your creativity swirl—these little bites of joy are waiting to be made!
Cake pops recipe
Ingredients
Equipment
Method
- Crumble the baked cake into fine crumbs in a large bowl.
- Add frosting gradually and mix until the mixture holds together when pressed.
- Roll the mixture into 1-inch balls and place them on a parchment-lined tray.
- Chill in the fridge for 20 minutes to firm up.
- Melt candy melts or chocolate chips with a little oil for smoothness (microwave in 30-sec intervals or use a double boiler).
- Dip the tip of a cake pop stick into melted chocolate, then insert halfway into a cake ball.
- Dip the entire cake pop into chocolate, tap off excess, and decorate with sprinkles.
- Stick into a styrofoam block to dry completely.
- Let set for 30 minutes before serving.
- Store in an airtight container for up to 5 days (or freeze for longer shelf life).
Notes
- For a shortcut, use store-bought cake and frosting.
- For vegan cake pops, use dairy-free chocolate and frosting.
- If cake pops fall off sticks, the mixture may be too wet—add more cake crumbs.