

If I could share my love for red velvet cake, I’d tell you it’s surprisingly easy to make! With its rich, moist texture and deep red color, this cake is perfect for any celebration. You’ll mix basic ingredients like flour, sugar, cocoa powder, and buttermilk, and then add vibrant food coloring for that signature hue. Don’t forget the cream cheese frosting; it truly elevates the experience. Stick around, and I’ll reveal some helpful baking tips and creative variations!
History
When I plunge into the history of red velvet cake, I can’t help but marvel at how this vibrant dessert has evolved over the years. Its origins trace back to the early 20th century, with roots in the Southern United States, where it became a symbol of luxury and celebration. The cultural significance of red velvet cake grew during the Great Depression, often gracing special occasions. Popular variations emerged, from classic cream cheese frosting to contemporary twists like chocolate-infused layers. Today, modern adaptations push boundaries, incorporating unique flavors and decorative techniques that reflect our innovative culinary spirit. This cake isn’t just a treat; it’s a rich tapestry of history, creativity, and community that continues to inspire bakers everywhere.
Recipe
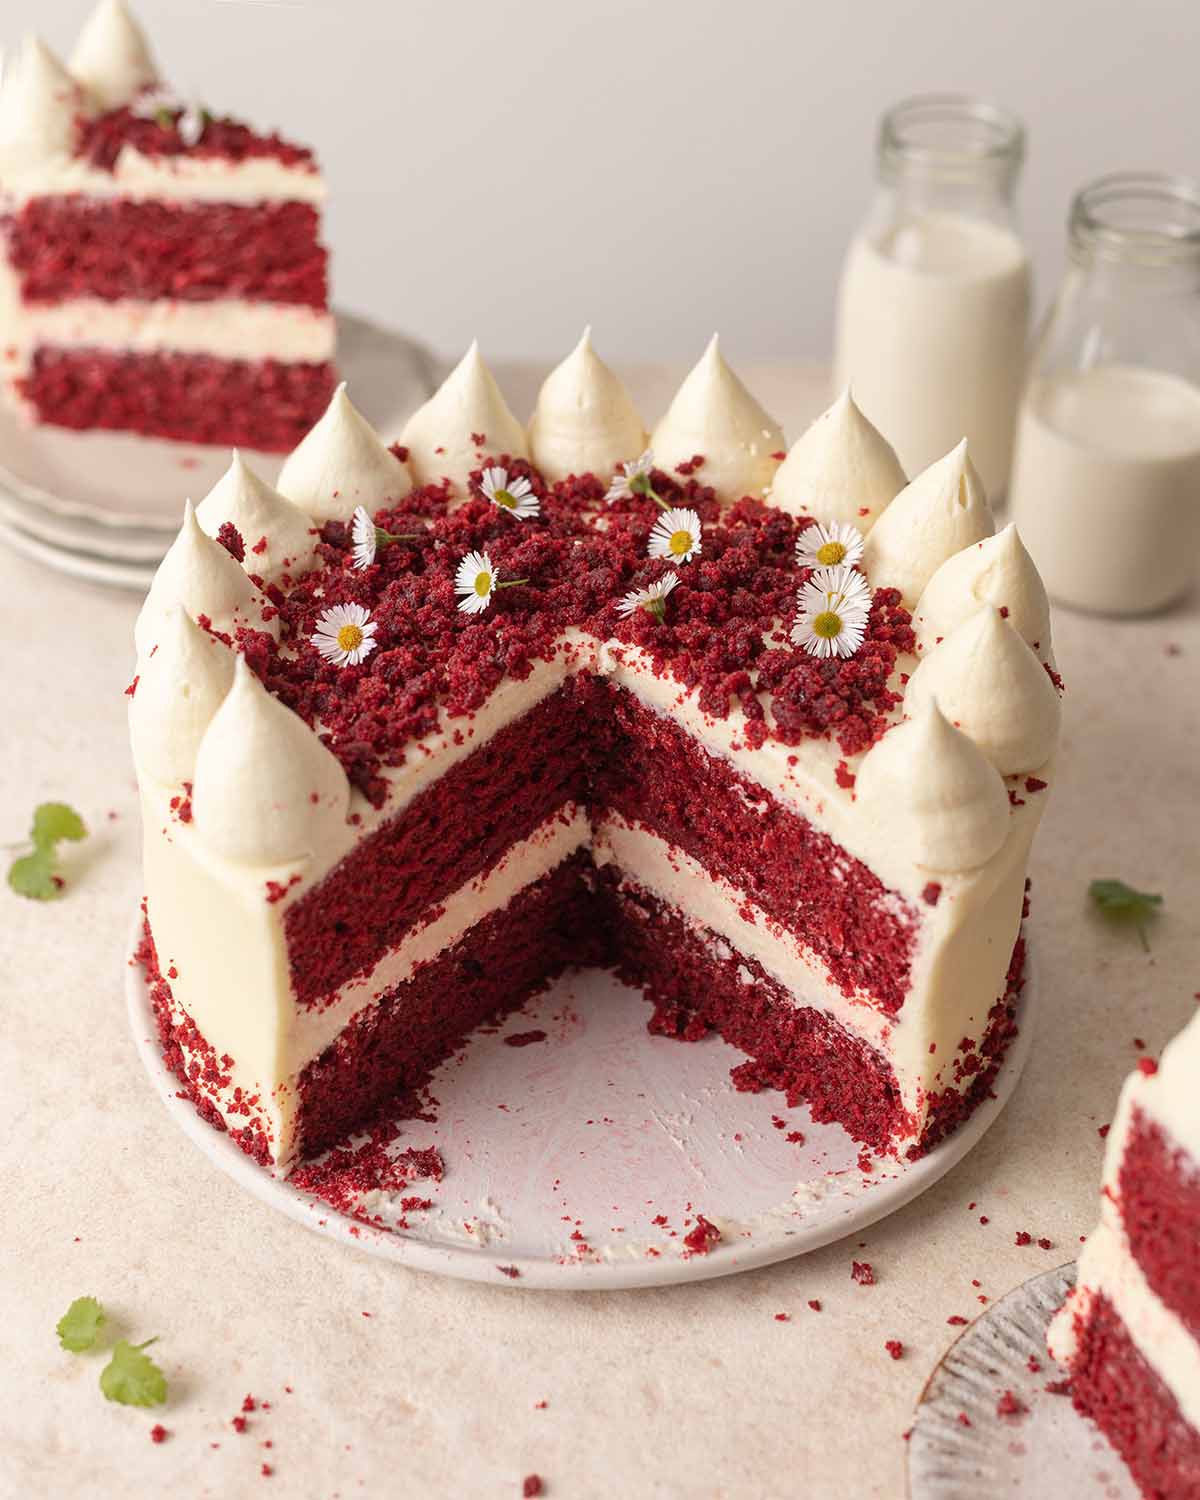
Red Velvet Cake is a classic dessert that combines a rich, moist texture with a beautiful deep red color, and is often paired with a luscious cream cheese frosting. This cake is not only stunning to look at but also provides a delightful balance of sweetness and tanginess, making it a favorite for celebrations and special occasions. The distinct flavor profile of red velvet cake comes from the mix of cocoa powder and buttermilk, which gives it a subtle chocolate taste while keeping the cake incredibly tender.
Making a red velvet cake is a fun and rewarding baking experience. It’s a wonderful way to impress your family and friends with your culinary skills. Whether you’re celebrating a birthday, anniversary, or simply enjoying a sweet treat, this cake will certainly steal the show. With the right ingredients and a little patience, you can create a delicious red velvet cake that will be the highlight of any gathering.
Ingredients:
- 2 ½ cups all-purpose flour
- 1 ½ cups granulated sugar
- 1 teaspoon baking soda
- 1 teaspoon salt
- 1 tablespoon unsweetened cocoa powder
- 1 ½ cups vegetable oil
- 1 cup buttermilk, room temperature
- 2 large eggs, room temperature
- 2 tablespoons red food coloring
- 1 teaspoon vanilla extract
- 1 teaspoon white vinegar
Instructions:
Preheat your oven to 350°F (175°C) and grease two 9-inch round cake pans. In a large bowl, sift together the flour, sugar, baking soda, salt, and cocoa powder. In another bowl, whisk together the oil, buttermilk, eggs, food coloring, vanilla extract, and vinegar until well combined. Gradually add the wet ingredients to the dry ingredients, mixing until just combined. Divide the batter evenly between the prepared cake pans and bake for 25-30 minutes or until a toothpick inserted into the center comes out clean. Allow the cakes to cool in the pans for 10 minutes before transferring them to a wire rack to cool completely.
Extra Tips:
When making red velvet cake, make sure that all your ingredients are at room temperature for the best texture. To enhance the red color, use gel food coloring instead of liquid food coloring, as it provides a more vibrant hue without altering the batter’s consistency. If you want to add a unique twist, consider incorporating a hint of espresso powder to intensify the chocolate flavor. Finally, for an added touch, you can decorate the finished cake with crushed pecans or walnuts on the sides for a delightful crunch. Enjoy your baking!
Cooking Steps
Let’s get started on bringing that luscious red velvet cake to life! First, I’ll preheat my oven to 350°F, setting the stage for a perfect bake. Then, I’ll mix together the dry ingredients, creating a rich foundation for the deliciousness to come.
Step 1. Preheat Oven to 350°F
To kick off your delicious red velvet cake journey, preheating the oven to 350°F is crucial. This oven temperature guarantees that your cake bakes evenly, giving it that perfect, moist crumb we all crave. While the oven warms up, I recommend checking your oven’s calibration; an inaccurate setting can lead to baking disappointments. As a baking tip, it’s wise to use an oven thermometer for precision, especially if you’re experimenting with new recipes. Once you’ve reached that ideal temperature, you’re ready to immerse yourself in mixing your ingredients, knowing your cake will rise beautifully. Trust me, taking this step seriously sets the foundation for an unforgettable baking experience!
Step 2. Mix Flour and Cocoa
Mixing the flour and cocoa powder is a key step that sets the stage for your red velvet cake’s unique flavor and texture. I typically choose a blend of all-purpose flour and cake flour to achieve that perfect balance between structure and tenderness. The all-purpose flour provides stability, while the cake flour keeps things light and fluffy. As I sift the cocoa powder into the mix, I can’t help but appreciate its rich benefits—it adds depth and a subtle bitterness that beautifully contrasts the cake’s sweetness. This combination not only enhances the cake’s vibrant color but also guarantees each bite is a delightful experience. Trust me, this step is where the magic truly begins!
Step 3. Add Buttermilk and Vinegar
As you prepare to add the buttermilk and vinegar, you’ll notice how these ingredients work in harmony to create that signature tanginess in red velvet cake. Buttermilk benefits your batter by adding moisture and a subtle richness, ensuring your cake remains tender and fluffy. It’s that velvety texture we all crave! When I mix in the vinegar, I can almost feel the excitement in the air; this ingredient triggers a reaction with the baking soda, creating bubbles that lift the cake beautifully. The combination not only enhances the flavor but also contributes to that stunning red hue. As you whisk these components together, you’re not just following a recipe; you’re creating an innovative masterpiece that will impress everyone who gets a slice!
Step 4. Fold in Egg Mixture
Gently folding in the egg mixture transforms your batter into a luscious blend of flavors and textures. I take a spatula and scoop from the bottom, lifting the mixture with a soft hand, ensuring I don’t deflate any of that precious air. Using these egg mixture techniques, I create a velvety smooth consistency that’s essential for my red velvet cake. It’s important to be patient here; I don’t rush this step. Instead, I enjoy the delicate dance between the wet and dry ingredients, allowing them to unite beautifully. This method enhances moisture and richness, ensuring a tender crumb when I finally use my baking methods. The anticipation builds as I watch the colors and ingredients meld seamlessly together.
Step 5. Add Red Food Coloring
With a burst of vibrant red, I carefully add the food coloring to my batter, transforming it into the signature hue of red velvet cake. I reach for my red dye, knowing that the right amount can make all the difference. Just a few drops create a stunning color intensity, but I’m cautious not to overdo it. Too much can overwhelm the cake, turning it into a bright cherry instead of the elegant ruby I envision. As I mix, I watch the color swirl and deepen, revealing the cake’s luxurious character. It’s mesmerizing how a simple ingredient can elevate the entire creation. I’m excited to see how this vibrant hue will shine once baked, promising a delightful treat that’s as beautiful as it is delicious.
Nutritional Guide
While indulging in a slice of red velvet cake, it’s essential to contemplate its nutritional profile. Understanding the caloric content and ingredient benefits can make your dessert experience even better.
Here’s a quick glance at the nutritional aspects:
| Nutrient | Amount per Slice |
|---|---|
| Calories | 350 |
| Sugar | 25g |
| Fat | 15g |
The cake’s buttermilk adds a touch of creaminess while providing calcium, and the cocoa powder offers antioxidants. The cream cheese frosting, though indulgent, contains beneficial fats that contribute to satiety. Balancing your treat with mindful portions allows you to enjoy its rich flavors while appreciating its unique ingredients.
Final Thoughts
As you savor a slice of red velvet cake, it’s hard not to appreciate the perfect balance of flavors and textures that come together in this iconic dessert. This cake isn’t just a treat; it’s a celebration of creativity in the kitchen. With endless cake variations, you can experiment by adding unique ingredients or flavors that reflect your personality.
Savoring red velvet cake is a delightful celebration of flavor, creativity, and personal expression in every bite.
Here are some baking tips to elevate your red velvet experience:
- Use high-quality cocoa for a richer taste.
- Don’t skimp on the cream cheese frosting—it’s a game changer.
- Experiment with different food colorings for a twist.
- Serve it warm for an irresistible indulgence.
Embrace the innovation, and enjoy every delicious bite!
Frequently Asked Questions
Can I Use Food Coloring Instead of Cocoa Powder?
I wouldn’t recommend using food coloring instead of cocoa powder. While food coloring alternatives can brighten your dish, cocoa powder substitutes provide that rich flavor and texture that enhances the overall experience of your dessert.
What Can I Substitute for Buttermilk?
If you need buttermilk alternatives, I often use a homemade buttermilk mix. Just combine one tablespoon of vinegar or lemon juice with a cup of milk, letting it sit for five minutes. It works wonders!
How Can I Make the Cake Gluten-Free?
You won’t believe how simple it is to make a gluten-free cake! I use gluten-free flours, like almond or coconut, and add baking powder for fluffiness. You’ll love the delicious results—trust me, it’s worth it!
What Frosting Pairs Best With Red Velvet Cake?
When I think about the best frosting for red velvet cake, cream cheese frosting steals the spotlight. Its tangy notes beautifully complement the cake’s richness, while a touch of buttercream adds smoothness, creating a delightful balance.
Can I Make This Cake Ahead of Time?
Absolutely, you can make this cake ahead! I often bake it a day or two in advance. Just store it properly in an airtight container to keep it moist and delicious for serving later.
Conclusion
To sum up, making a red velvet cake isn’t just about indulging in a delicious dessert; it’s a delightful journey through history and flavors. Did you know that the iconic red hue originally came from cocoa powder’s reaction with acidic ingredients, making it a chemical wonder? As you savor each bite, you’re not just enjoying a treat; you’re partaking in a rich culinary tradition that’s captivated taste buds since the 1920s. So, go ahead—bake, share, and celebrate!
Red Velvet Cake Recipe Easy
Ingredients
Equipment
Method
- Preheat oven to 350°F (175°C). Grease and flour two 9-inch cake pans.
- Dry ingredients: In a bowl, whisk flour, sugar, baking soda, salt, and cocoa powder.
- Wet ingredients: In another bowl, mix oil, buttermilk, eggs, food coloring, vanilla, and vinegar.
- Combine: Gradually add dry ingredients to wet, mixing until smooth (do not overmix).
- Bake: Divide batter evenly into pans. Bake for 25–30 minutes or until a toothpick comes out clean.
- Cool: Let cakes cool in pans for 10 minutes, then transfer to a wire rack.
- Beat cream cheese and butter until smooth.
- Add powdered sugar and vanilla, beating until fluffy.
- Place one cake layer on a plate, spread frosting, then top with the second layer.
- Frost the top and sides. Decorate with sprinkles or crumbs (optional).
Notes
- Buttermilk substitute: Mix 1 cup milk + 1 tbsp lemon juice/vinegar. Let sit for 5 minutes.
- Storage: Refrigerate for up to 5 days. Bring to room temperature before serving.
- For extra moisture: Brush cake layers with simple syrup before frosting.