

Cake balls are a fun and indulgent treat that I love making! Start with a box of cake mix, prepare it as directed, and then mix the cooled crumbs with frosting until it’s well combined. Roll this mixture into bite-sized balls and chill for a bit. Finally, coat them with melted chocolate or colorful sprinkles for that extra flair. Trust me, they’re perfect for any occasion! Stick around to discover customization options and serving ideas!
History
When I think about the history of cake balls, I can’t help but marvel at how this delightful treat evolved from a simple dessert into a popular party favorite. The origins of cake trace back centuries, with various cultures creating their versions of baked goods. Over time, these cakes transformed, inspired by local ingredients and flavors. As dessert evolution continued, the concept of repurposing leftover cake emerged, leading to the creation of cake balls. Bakers began crumbling old cake, mixing it with frosting, and rolling it into bite-sized spheres. This innovation not only reduced waste but also made cake more accessible and fun to enjoy. Today, cake balls are celebrated for their versatility and creativity, appearing in countless flavors and decorations at events worldwide.
Recipe
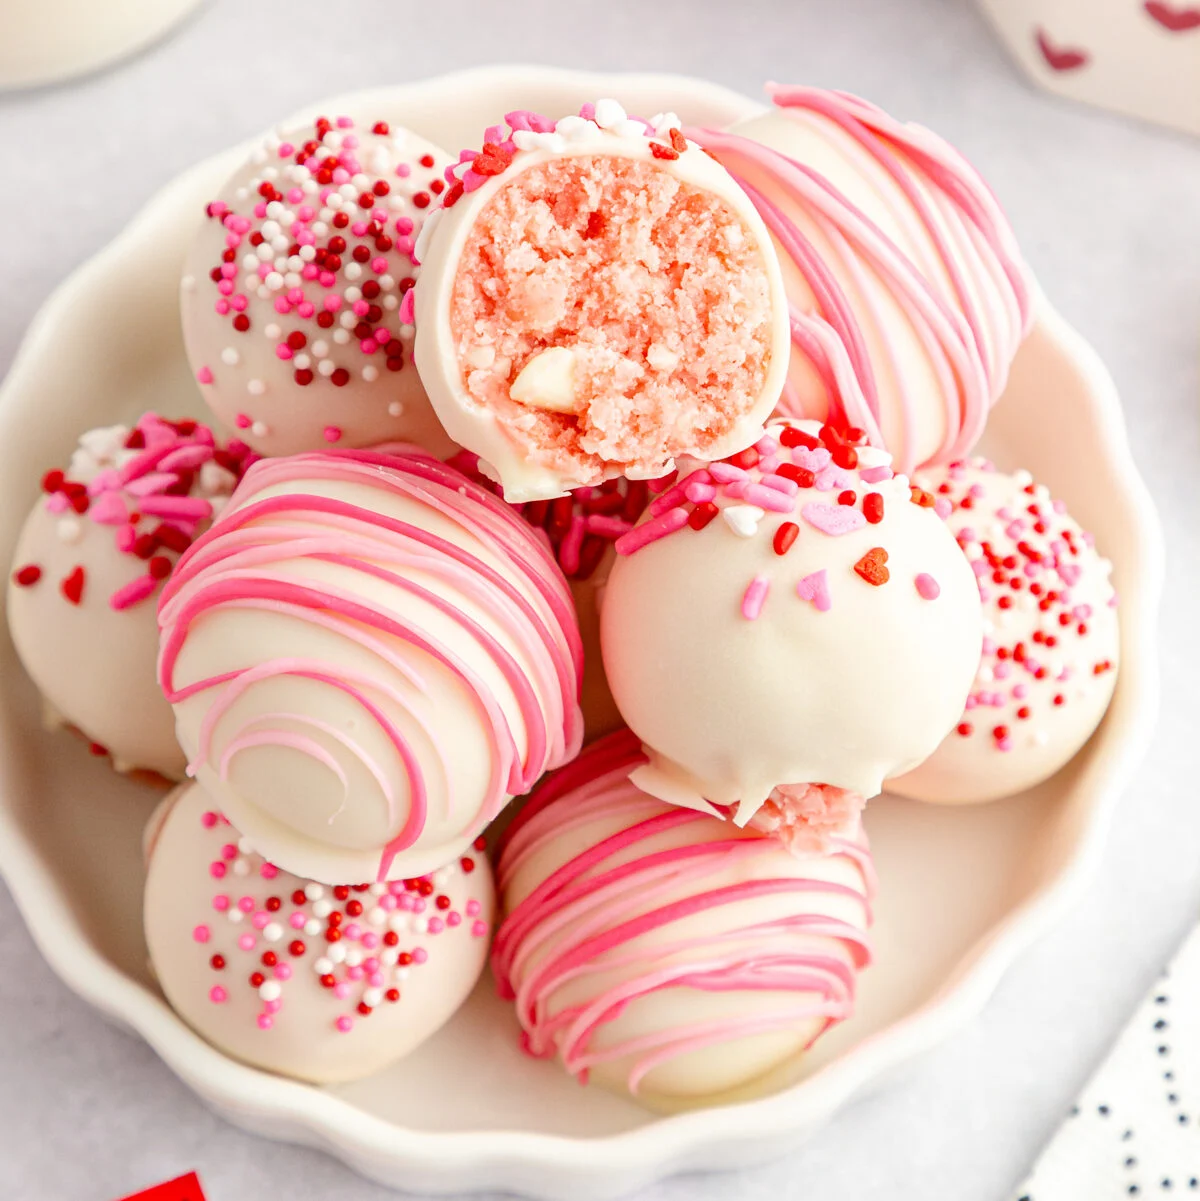
Cake balls are a delightful treat that combines the rich flavors of cake and frosting into bite-sized, decadent morsels. They are perfect for parties, celebrations, or just a sweet indulgence at home. The beauty of cake balls lies in their versatility; you can use any flavor of cake and frosting you like, making them customizable to suit any occasion or preference. Once coated in chocolate or candy melts, these little bites become even more irresistible, providing a delicious crunch along with the soft, sweet interior.
Making cake balls is a simple and fun process that can be enjoyed by bakers of all skill levels. To start, you’ll bake a cake according to your chosen recipe or use a store-bought cake mix. After the cake has cooled, it will be crumbled into fine pieces and mixed with frosting, forming a dough-like consistency. From there, you can roll the mixture into balls, chill them to firm up, and finally dip them in chocolate or candy coating for that perfect finish.
Making cake balls is a delightful and easy process, perfect for bakers of any experience level!
Ingredients:
- 1 box of cake mix (any flavor)
- Eggs, oil, and water (as required by cake mix)
- 1 cup of frosting (matching flavor or your choice)
- 1-2 cups of chocolate chips or candy melts (for coating)
- Sprinkles or other decorative toppings (optional)
To prepare the cake balls, first, bake the cake according to the package instructions and allow it to cool completely. Once cooled, crumble the cake into a large mixing bowl until it resembles fine crumbs. Add the frosting and mix well until the mixture is fully combined and holds together. Roll the mixture into 1-inch balls and place them on a baking sheet lined with parchment paper. Chill the balls in the refrigerator for at least 30 minutes to firm them up. Meanwhile, melt the chocolate or candy melts in a microwave-safe bowl, stirring every 30 seconds until smooth. Dip each cake ball into the melted chocolate, making sure they are fully coated, then place them back on the parchment paper and add any decorative toppings before the coating sets.
When making cake balls, it’s important to confirm that your cake is completely cooled before crumbling it; otherwise, the heat can melt the frosting and make the mixture too wet. Additionally, you can experiment with different flavor combinations by using various cake and frosting flavors, or even adding in mix-ins like nuts or chocolate chips for extra texture. If you’re feeling creative, try using colored candy melts to match themes or occasions, and don’t hesitate to personalize them with fun sprinkles or edible glitter for an extra festive touch!
Cooking Steps
Now that we’ve got our ingredients ready, let’s jump into the exciting cooking steps! I’ll guide you through mixing the cake crumbs with frosting, shaping them into delightful bite-sized balls, and chilling them just right for that perfect texture. Finally, we’ll coat them with chocolate or sprinkles to add that irresistible finishing touch!
Step 1. Gather Ingredients and Tools
To create delicious cake balls, I first gather all the necessary ingredients and tools to streamline the process. For ingredient selection, I make sure to have a moist cake, frosting, and any flavorings or toppings that inspire me. I often choose vibrant sprinkles or melted chocolate for that creative flair. As for the essential tools, I grab mixing bowls, a spatula, and a baking sheet lined with parchment paper. An ice cream scoop makes portioning the cake balls a breeze, ensuring they’re uniform and easy to handle. With everything in place, I’m ready to plunge into the mixing and molding, fully equipped to release my culinary creativity and craft these delightful treats!
Step 2. Mix Cake Crumbs and Frosting
Crushing the cooled cake into fine crumbs is the first step in this exciting process. I usually choose a cake flavor that sparks my creativity—like a rich chocolate or a vibrant red velvet. Once I’ve got those beautiful crumbs, I grab my favorite frosting type, whether it’s classic buttercream or a tangy cream cheese. I add just enough frosting to the crumbs, and the magic begins. The mixture should be moist but not overly wet, allowing it to hold together beautifully. I like to use my hands for this task, feeling the textures blend together. It’s all about finding that perfect balance between the cake flavors and frosting types, creating a deliciously irresistible mixture that will soon become bite-sized delights!
Step 3. Form Into Bite-Sized Balls
With the cake crumbs and frosting perfectly combined, it’s time to shape them into bite-sized balls. I like to scoop out about a tablespoon of the mixture, rolling it gently between my palms until it forms a smooth sphere. This part is where creativity shines! You can experiment with different sizes, but I find that a consistent bite-sized treat is ideal for snacking. As you work, think about dessert variations; you could add flavorings like vanilla or almond extract for a twist. Don’t worry if they’re not perfect—each cake ball has its own unique charm. Once you’ve rolled all of them, you’ll have a delightful platter of colorful, tempting bites ready for the next step in your cake ball adventure!
Step 4. Chill Before Coating
After shaping the cake mixture into delightful little spheres, the next vital step is chilling them before coating. I usually let them chill in the refrigerator for about 30 minutes, which helps them firm up beautifully. This chilling time is important; it guarantees that the cake balls hold their shape when I start using different coating techniques. If they’re too soft, the coating won’t adhere properly, and I could end up with a gooey mess. Trust me, you want that perfect balance! While they chill, I often plan my coating strategy, whether it’s melting chocolate or rolling in sprinkles. This thoughtful approach makes all the difference in achieving a visually appealing and delicious final product.
Step 5. Coat With Chocolate or Sprinkles
Now that the cake balls have chilled and firmed up nicely, it’s time to bring them to life with a delightful coat of chocolate or sprinkles. I love melting different chocolate types—dark, milk, or white—each adding its unique flavor. I dip each chilled ball into the warm chocolate, letting the excess drip off before placing them on parchment paper. For a playful twist, I also keep a variety of sprinkle varieties at hand—colorful jimmies, sparkly sanding sugar, or even crushed nuts. Once coated, I quickly sprinkle them with my chosen toppings, allowing creativity to flow! Watching them transform into little works of art is just as satisfying as eating them. Enjoy the process; it’s all part of the fun!
Nutritional Guide
While indulging in cake balls can be a delightful experience, it’s crucial to contemplate their nutritional content. These treats can pack a caloric punch, but with some thoughtful ingredient substitutions, you can enjoy a healthier version without sacrificing flavor. Here’s a quick guide to help you make informed choices:
| Nutritional Aspect | Value (per 2 cake balls) |
|---|---|
| Caloric Content | 200-250 calories |
| Sugar | 18-25 grams |
| Protein | 2-4 grams |
Final Thoughts
Although cake balls can be a tempting treat, I believe it’s essential to savor them mindfully. These delightful bites offer endless possibilities for customization, and I love experimenting with cake ball variations. From rich chocolate to vibrant red velvet, the flavors are only limited by your imagination. When it comes to serving suggestions, consider pairing them with a drizzle of ganache or a sprinkle of crushed nuts for an eye-catching presentation. You can even create a themed platter for special occasions, making them not just a dessert but a centerpiece. So, whether you’re indulging in a solo treat or sharing with friends, embrace the creativity these cake balls inspire. Happy baking, and enjoy every bite!
Frequently Asked Questions
Can I Use Gluten-Free Cake Mix for Cake Balls?
Absolutely, I’ve used gluten-free options for my baking before. Just remember to check the mix’s moisture level; sometimes, it needs a bit more liquid. With these baking tips, you’ll create delicious treats everyone will enjoy!
How Long Do Cake Balls Last in the Fridge?
I’ve discovered that cake balls can last up to a week in the fridge with proper storage. Their shelf life depends on ingredients, so always check for freshness before indulging in those delightful bites!
What Type of Chocolate Is Best for Coating?
When it comes to coating, I love using dark chocolate for its rich flavor, but white chocolate adds a delightful sweetness. Experimenting with both can create a tempting contrast that elevates any dessert experience!
Can I Freeze Cake Balls for Later Use?
Freezing cake balls is like saving a piece of joy for later. I use airtight containers for storage, ensuring they’re well-wrapped. With proper freezing methods, they stay delicious and ready for whenever I crave a treat!
How Can I Decorate Cake Balls Creatively?
When I decorate, I love using colorful sprinkles and a touch of edible glitter. It adds such a fun flair! Drizzling chocolate on top creates a stunning contrast, making each bite irresistible and visually appealing.
Conclusion
In wrapping up this delightful journey into the world of cake balls, I hope you’re inspired to whip up a batch of your own. These sweet little bites are like tiny pieces of joy that can brighten any occasion. Remember, whether you’re experimenting with flavors or sharing them with friends, each cake ball carries a sprinkle of love. So, roll up your sleeves and plunge into this delicious adventure—you won’t regret it! Happy baking!
Cake Balls Recipe
Ingredients
Equipment
Method
- Prepare the cake mix as per package instructions in a 9×13" pan. Let it cool completely.
- Break the cooled cake into fine crumbs using your hands or a food processor.
- Add frosting to the crumbs (start with ¾ can, add more if needed) and mix until it forms a dough-like consistency.
- Roll the mixture into 1-inch balls and place them on a parchment-lined baking sheet.
- Chill for 30 minutes in the freezer (to firm up).
- In a microwave-safe bowl, melt chocolate chips with coconut oil in 30-second intervals, stirring until smooth.
- Dip each ball into melted chocolate using a toothpick or fork. Let excess drip off.
- Place back on parchment paper and decorate with sprinkles immediately (before chocolate sets).
- Allow chocolate to harden at room temperature or refrigerate for 15 minutes.
- Store in an airtight container for up to 5 days or freeze for longer storage.
Notes
- Variations: Use red velvet cake + cream cheese frosting, or lemon cake + vanilla frosting.
- For a shortcut: Use store-bought cake or leftover cake scraps.
- Decorating tip: Drizzle with contrasting melted chocolate for a fancy touch.