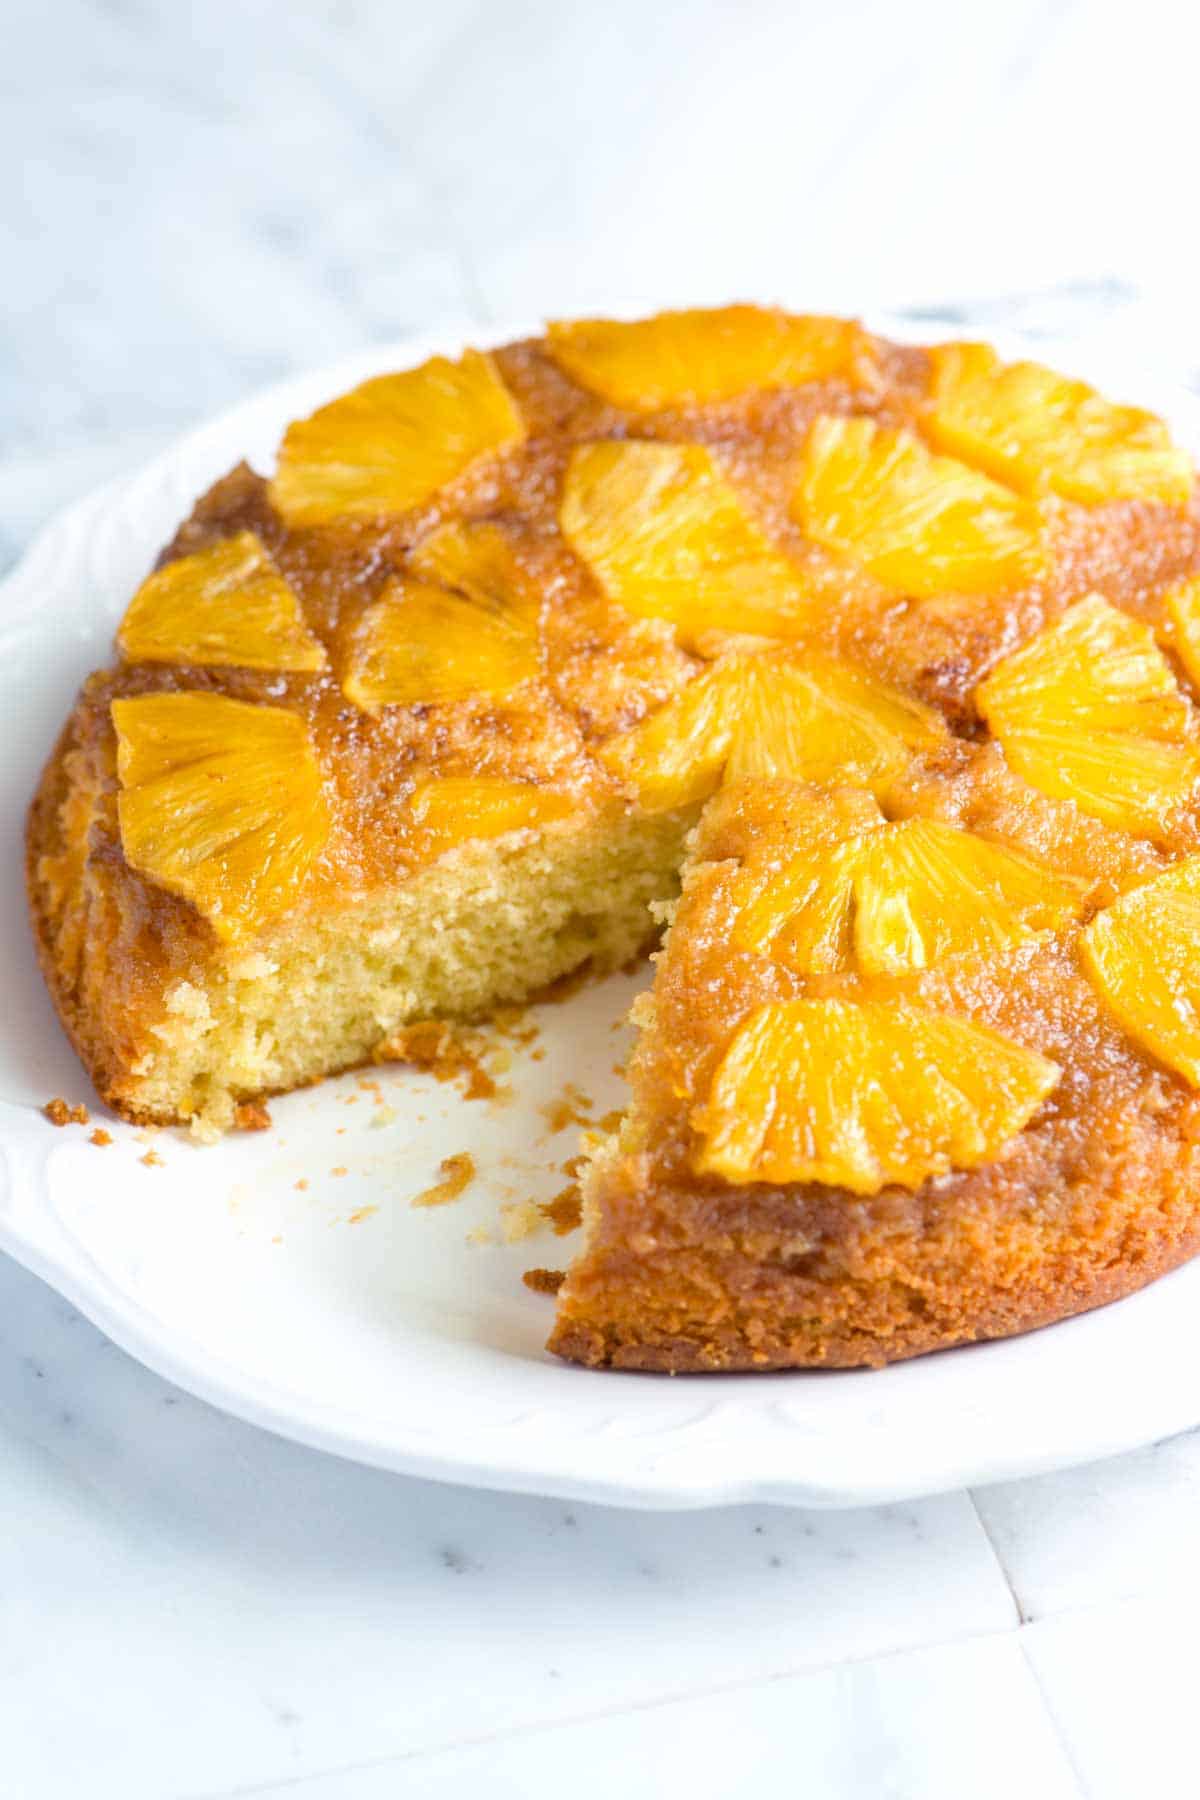
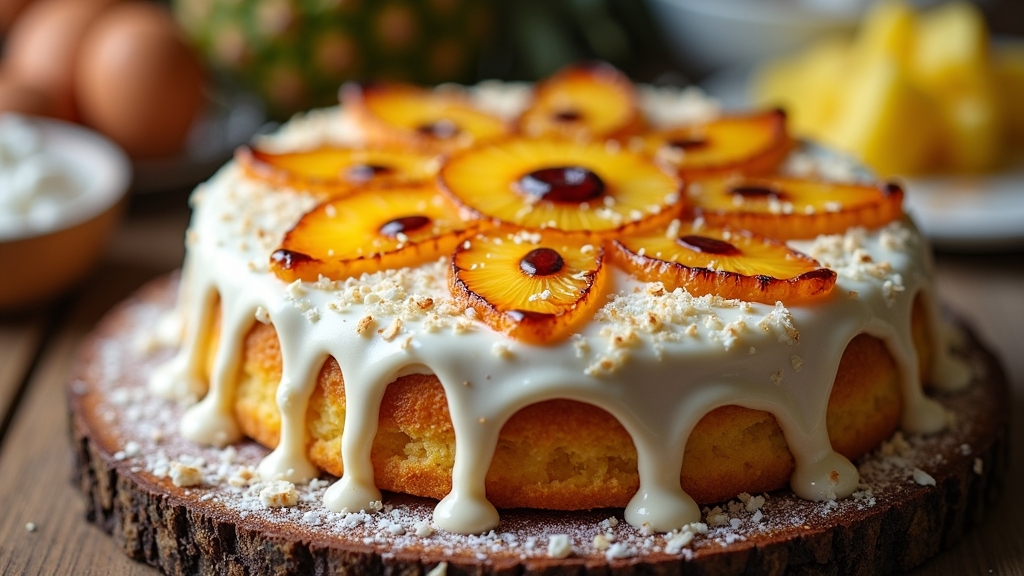
If you’re looking to create a delicious pineapple cake, I’ve got the perfect recipe for you! This cake combines moist, tangy crushed pineapple with a light vanilla batter, making it a true crowd-pleaser. It’s easy to whip up and great for any occasion, whether a celebration or just a casual treat. With some whipped cream or vanilla ice cream on the side, it’s simply irresistible. Stick around, and I’ll share even more baking tips and serving suggestions!
History
When I think about the history of pineapple cake, I can’t help but marvel at how this delightful dessert has evolved over the years. Originating in regions where pineapples thrived, its cultural significance is deeply rooted in celebrations and gatherings. In Hawaii, for instance, pineapple cake often graces luaus, symbolizing hospitality and warmth. Meanwhile, in some Asian cultures, variations incorporate unique ingredients like coconut or mung beans, showcasing regional twists that reflect local tastes. Each bite tells a story, revealing a blend of traditions and innovations. As I explore these diverse adaptations, I’m inspired by how pineapple cake continues to resonate across cultures, inviting new generations to savor its sweetness while honoring its rich history.
Recipe
Pineapple cake is a delightful dessert that brings a tropical flair to any occasion. With its moist texture and sweet, tangy flavor, this cake is perfect for celebrations or simply enjoying at home. The combination of crushed pineapple and a light vanilla batter creates a delightful treat that pairs wonderfully with a dollop of whipped cream or a scoop of vanilla ice cream.
This cake is not only delicious but also easy to prepare, making it an excellent choice for both novice and experienced bakers. The ingredients are simple and can be found in most kitchens, allowing you to whip up this tasty dessert with minimal effort. Whether you are serving it at a party or enjoying a slice with your afternoon tea, this pineapple cake is sure to impress.
Ingredients:
- 1 cup crushed pineapple (drained)
- 1/2 cup unsalted butter (softened)
- 1 cup granulated sugar
- 2 large eggs
- 1 teaspoon vanilla extract
- 1 1/2 cups all-purpose flour
- 1 1/2 teaspoons baking powder
- 1/2 teaspoon baking soda
- 1/4 teaspoon salt
- 1/2 cup milk
To prepare the pineapple cake, start by preheating your oven to 350°F (175°C) and greasing a 9-inch round cake pan. In a large mixing bowl, cream together the softened butter and sugar until light and fluffy. Beat in the eggs one at a time, then add the vanilla extract and crushed pineapple. In another bowl, whisk together the flour, baking powder, baking soda, and salt. Gradually mix the dry ingredients into the wet mixture, alternating with the milk, until just combined. Pour the batter into the prepared cake pan and bake for approximately 30-35 minutes or until a toothpick inserted into the center comes out clean. Allow the cake to cool in the pan for 10 minutes before transferring it to a wire rack to cool completely.
When making pineapple cake, consider using fresh pineapple for a more vibrant flavor, but canned pineapple works perfectly as well. Be sure to drain the crushed pineapple thoroughly to avoid excess moisture in the batter. For added texture, you can fold in some chopped walnuts or pecans. If you want to elevate the cake further, top it with a cream cheese frosting or a simple glaze made with powdered sugar and pineapple juice. Enjoy your delicious creation!
Cooking Steps
Now that we have our ingredients ready, let’s get started on the cooking steps to create that delicious pineapple cake. First, I always preheat the oven to 350°F to guarantee it’s perfectly warm when the batter is ready. Then, I mix the dry ingredients together before gradually adding in the wet ones, creating a delightful blend that sets the stage for our juicy pineapple chunks.
Step 1. Preheat the Oven to 350°F
Before diving into mixing your ingredients, I always recommend preheating the oven to 350°F. This oven temperature is vital for achieving that perfect rise and golden crust on your pineapple cake. While the oven warms up, I like to gather my ingredients, feeling that anticipation build. It’s a simple yet essential step that many novice bakers overlook, but trust me, it makes all the difference. Preheating guarantees the batter hits a hot surface, leading to a better texture. As you prepare, think of it as setting the stage for your culinary creation. Remember, a well-preheated oven is one of the best baking tips I can share. It’s the foundation upon which your delicious masterpiece will flourish!
Step 2. Mix Dry Ingredients Together
Gathering the dry ingredients is an essential step that sets the foundation for your pineapple cake’s flavor and texture. I start by measuring out flour, sugar, baking powder, and a pinch of salt, ensuring everything is fresh for maximum taste. Using innovative baking techniques, I whisk these ingredients together in a large bowl, creating a light and airy mixture. If you’re looking to experiment, consider ingredient substitutions like whole wheat flour for a nuttier flavor or coconut sugar for a deeper sweetness. As I mix, I envision how these elements will come together, forming the base of a delightful cake. This careful attention to detail in combining dry ingredients paves the way for a truly scrumptious pineapple cake!
Step 3. Add Wet Ingredients Gradually
To create a moist and flavorful pineapple cake, I carefully add the wet ingredients into the dry mixture in stages. First, I mix together the eggs, crushed pineapple, and vanilla extract, allowing their vibrant flavors to meld. Using a whisk, I pour this luscious blend into the flour mixture, but I don’t dump it all at once. Instead, I incorporate it gradually, using gentle mixing techniques. This method guarantees the batter remains light and airy, preventing any lumps. As I blend, I can feel the texture transform, becoming smooth and inviting. Each addition of wet ingredients is a step toward that perfect cake, creating a harmonious balance of moisture that promises to delight with every bite.
Step 4. Fold in Pineapple Chunks
With the batter now smooth and well-combined, it’s time to add a burst of texture and flavor by folding in the pineapple chunks. I gently scoop the luscious, juicy pieces of pineapple, ensuring I don’t break them apart too much. This step isn’t just about flavor; it’s also a chance to enjoy the pineapple benefits, like its invigorating sweetness and rich vitamin content. As I fold, I can already envision the delightful texture variations that’ll emerge in each bite—soft, moist cake mingled with bursts of tropical goodness. The pineapple chunks will not only enhance the cake’s taste but also elevate its visual appeal, creating a dessert that’s as inviting to the eye as it is to the palate.
Step 5. Pour Batter Into Pan
Lifting the mixing bowl, I pour the luscious batter into a greased cake pan, watching it flow smoothly into place. The batter consistency is just right—neither too thick nor too runny, ensuring a perfect bake. When selecting my pan, I often consider a few essential points:
- Material: Opt for metal or glass for even cooking.
- Size: Choose a pan that matches your recipe’s yield for the best results.
- Shape: Round or square, each brings a unique presentation.
- Greasing: Always grease the pan well to avoid sticking.
With these tips in mind, I can confidently spread the batter, knowing my pineapple cake will rise beautifully and taste divine!
Nutritional Guide
When it comes to enjoying a slice of pineapple cake, understanding its nutritional profile can transform your experience from mere indulgence to a mindful treat. This delightful dessert not only satisfies your sweet tooth but also offers some nutritional benefits. Pineapple adds a tropical flair while providing vitamins and enzymes that aid digestion.
Here’s a quick glance at what you’re savoring:
| Nutrient | Amount per Slice |
|---|---|
| Calories | 250 |
| Sugars | 15g |
| Fiber | 2g |
For serving suggestions, try pairing your cake with a dollop of Greek yogurt or a scoop of low-fat ice cream to enhance its flavors while keeping it balanced. Enjoy your sweet creation!
Final Thoughts
As I reflect on the joy of baking and sharing a pineapple cake, it’s clear that this delightful dessert is more than just a sweet treat; it’s a celebration of flavors and textures. Whether you’re a seasoned baker or a novice, these baking tips can elevate your pineapple cake experience:
- Use fresh pineapple for a vibrant flavor.
- Incorporate coconut for a tropical twist.
- Experiment with spices, like cinnamon or nutmeg, to enhance depth.
- Serve with a dollop of whipped cream or a scoop of vanilla ice cream for a luxurious finish.
I encourage you to explore these serving suggestions and make the recipe your own. Each bite is a reminder that baking is about creativity and connection, making every gathering a little sweeter.
Frequently Asked Questions
Can I Substitute Fresh Pineapple for Canned Pineapple?
I love using fresh pineapple for its vibrant flavor and nutritional benefits, but I appreciate the convenience of canned pineapple too. Each option brings something unique to the table, so it depends on what you need!
How Can I Make the Cake Gluten-Free?
Baking’s like crafting a masterpiece; for a gluten-free cake, I swap wheat flour with almond or coconut flour. These gluten-free flours add texture and flavor, making delicious baking substitutions that surprise and delight every bite.
What Are Some Frosting Options for Pineapple Cake?
When it comes to frosting options, I love using a creamy cream cheese frosting or a light, fluffy coconut whipped topping. Both elevate the flavor and add a tropical touch that perfectly complements the cake’s sweetness.
How Should I Store Leftover Pineapple Cake?
To store leftover cake properly, I wrap it tightly in plastic wrap or place it in an airtight container. This guarantees ideal cake preservation, keeping it fresh and delicious for days. Enjoy those sweet bites later!
Can I Freeze Pineapple Cake for Later Use?
Absolutely, I can freeze cake! Did you know that properly frozen cakes can retain up to 90% of their original texture? Using effective freezing techniques, I guarantee my cake stays delicious for future enjoyment.
Conclusion
As I savored the last bite of my pineapple cake, I was reminded of a sunlit tropical beach—each slice bursting with flavor like waves crashing on the shore. This cake isn’t just a dessert; it’s a celebration of warmth and sweetness, a moment to share with loved ones. So, whether you’re baking for a special occasion or just to brighten your day, let this pineapple cake be your little slice of paradise. Enjoy every bite!

Pineapple Cake Recipe
Ingredients
Equipment
Method
- Preheat your oven to 350°F (175°C). Grease a 9×13-inch baking pan.
- In a large bowl, combine flour, sugar, baking soda, and salt.
- Add eggs, vanilla extract, and the entire can of crushed pineapple with juice. Mix until just combined.
- Fold in chopped nuts if using.
- Pour the batter into the prepared pan and spread evenly.
- Bake for 30–35 minutes or until a toothpick inserted in the center comes out clean.
- Let the cake cool completely before frosting.
- In a bowl, beat softened butter and cream cheese until smooth.
- Gradually add powdered sugar and beat until fluffy.
- Mix in vanilla extract.
- Spread the frosting evenly over the cooled cake.
Notes
- You can toast the nuts for extra flavor.
- For a layered cake version, divide the batter between two round pans and reduce the baking time slightly.
- Store in the refrigerator for up to 4–5 days.
- This cake is great served chilled!

