

If you’re craving a rich, velvety red velvet cake, I’ve got just the recipe for you! Start by mixing 2 ½ cups flour, 1 ½ cups sugar, and cocoa powder with 1 teaspoon each of baking soda and salt. Gradually blend in buttermilk, oil, and eggs for a smooth batter. Pour it into prepared pans and bake at 350°F. Top it off with cream cheese frosting for that iconic finish. Stick around to discover more tips and twists for this classic dessert!
History
When I explore the history of red velvet cake, I find it fascinating how this dessert evolved from a simple delicacy to a beloved classic. Its culinary origins trace back to the Southern traditions of the early 20th century, where ingredients like buttermilk and cocoa created a unique flavor profile. Initially, it was a simple cake, often enjoyed for special occasions, but the addition of vibrant red food coloring transformed its appearance, making it a showstopper. The cake’s rich, velvety texture and contrasting cream cheese frosting quickly captivated taste buds, establishing it as a staple at celebrations. Through this journey, red velvet cake has become not just a dessert, but a symbol of Southern hospitality and a canvas for culinary creativity.
Recipe
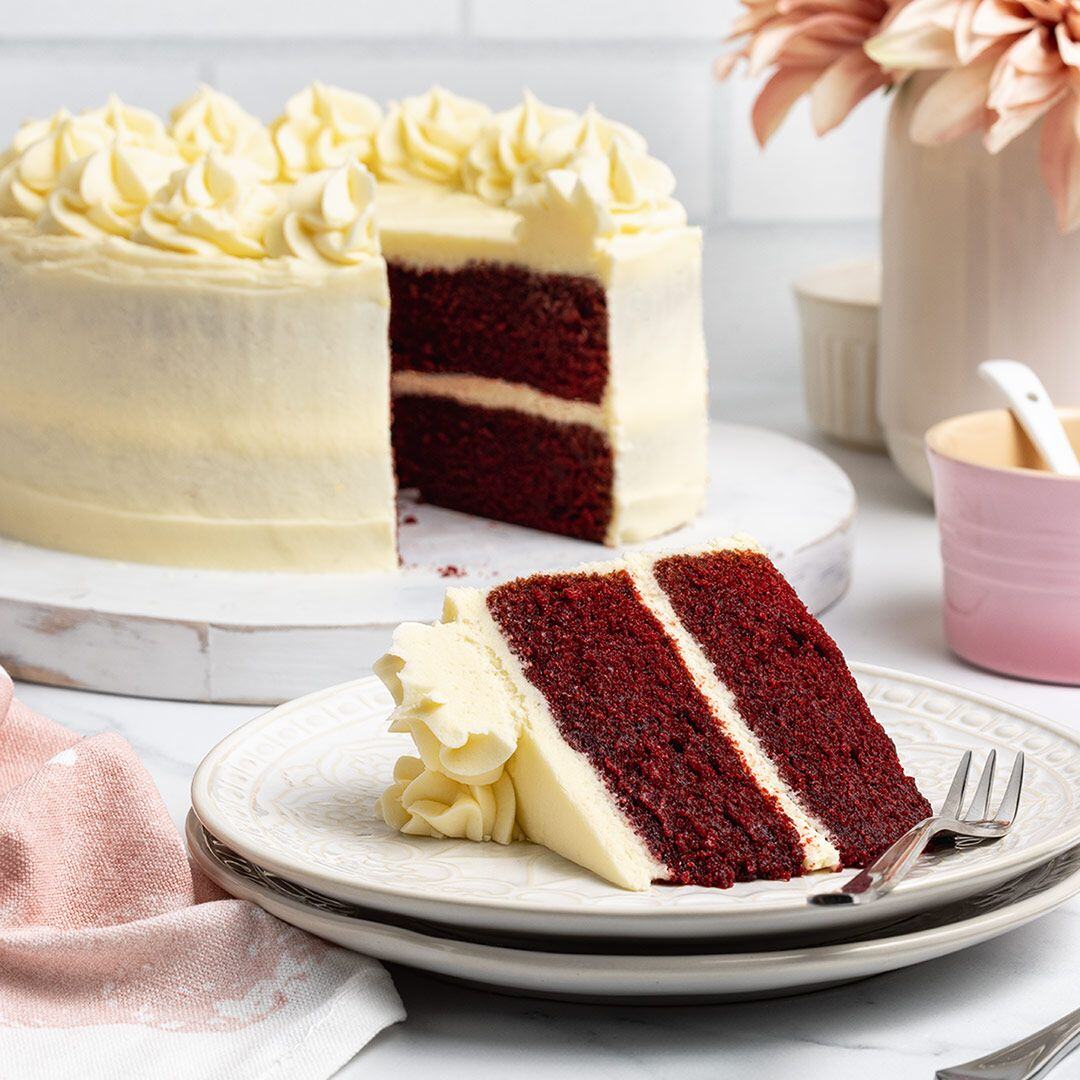
Red Velvet Cake is a classic Southern dessert that boasts a rich, velvety texture and a striking red hue. This cake is traditionally layered with a creamy cream cheese frosting, which perfectly balances the sweetness of the cake itself. The combination of cocoa powder and buttermilk not only adds to the flavor profile but also lends to the cake’s moistness, making it a favorite for special occasions and celebrations.
Making a Red Velvet Cake is not only rewarding but also surprisingly simple. With the right ingredients and a little patience, you can create a stunning dessert that will impress your family and friends. Whether it’s for a birthday, a holiday gathering, or just a treat for yourself, this cake is sure to delight everyone who takes a bite.
Ingredients:
- 2 ½ cups all-purpose flour
- 1 ½ cups granulated sugar
- 1 teaspoon baking soda
- 1 teaspoon salt
- 1 teaspoon cocoa powder
- 1 ½ cups vegetable oil
- 1 cup buttermilk, room temperature
- 2 large eggs, room temperature
- 2 tablespoons red food coloring
- 1 teaspoon vanilla extract
- 1 teaspoon white vinegar
Instructions:
Preheat your oven to 350°F (175°C) and grease and flour two 9-inch round cake pans. In a large mixing bowl, sift together the flour, sugar, baking soda, salt, and cocoa powder. In another bowl, whisk together the vegetable oil, buttermilk, eggs, red food coloring, vanilla extract, and vinegar until well combined. Gradually add the wet ingredients to the dry ingredients, mixing until just combined and smooth. Divide the batter evenly between the prepared pans and bake for 25 to 30 minutes, or until a toothpick inserted in the center comes out clean. Allow the cakes to cool in the pans for about 10 minutes before transferring them to wire racks to cool completely.
Extra Tips:
For the best results, make certain that all your ingredients are at room temperature before you begin mixing. This helps to achieve a smooth batter and guarantees even baking. If you want to enhance the flavor, consider adding a teaspoon of almond extract for a unique twist. When frosting your cake, make sure it is completely cool to prevent the frosting from melting. Finally, feel free to decorate with sprinkles or chocolate shavings for an extra special touch!
Cooking Steps
Let’s get started with the cooking steps that will bring our red velvet cake to life. I’ll guide you through the process, starting with preheating the oven to a perfect 350°F, so it’s ready for our batter. From there, we’ll expertly combine the dry ingredients before introducing the wet elements, ensuring a smooth and luscious mixture.
Step 1. Preheat Oven to 350°F
Before diving into mixing your ingredients, it’s essential to preheat your oven to 350°F. This oven temperature is critical for achieving that perfect red velvet cake texture—moist and fluffy yet resilient. I always recommend setting your oven well in advance, as it takes time to reach the desired heat, ensuring your cake bakes evenly. While waiting, I often check my oven’s calibration with an oven thermometer; it’s a great baking tip to avoid any surprises. Once the oven reaches 350°F, the magic begins. The heat will activate the baking soda and create those delightful cake layers. Trust me, starting with the right temperature sets the stage for an innovative dessert that’ll wow your friends and family. Happy baking!
Step 2. Mix Dry Ingredients Together
To prepare the perfect red velvet cake, I start by mixing together the dry ingredients—typically, that’s about three essential components: all-purpose flour, cocoa powder, and salt. The dry ingredient importance can’t be overstated; they create the cake’s structure and balance flavors. I sift the flour and cocoa powder together to eliminate any lumps, ensuring an even distribution. This technique also aerates the mixture, promoting a lighter texture. Next, I add the salt, which enhances the cake’s sweetness and rounds out the flavors. Using a whisk, I gently combine these ingredients, incorporating them thoroughly without over-mixing. This careful attention to detail in mixing techniques sets the foundation for a beautifully moist and flavorful red velvet cake that’s simply unforgettable.
Step 3. Add Wet Ingredients Gradually
As I prepare to add the wet ingredients, I find it essential to do so gradually, which helps to create a smooth and cohesive batter. I start by pouring in a small amount of buttermilk and mixing it gently. This gradual incorporation allows the dry ingredients to absorb the liquid evenly, preventing any clumps from forming. I continue this process, alternating between the oil and the eggs, ensuring each addition is fully integrated before adding more. This technique not only enhances the batter’s consistency but also contributes to the cake’s moist texture. By the time I finish, I’m left with a luxurious mixture, ready to transform into a delightful red velvet cake that’s both innovative and classic.
Step 4. Fold in Cocoa Powder
Once the wet ingredients are well blended, I carefully fold in the cocoa powder to guarantee an even distribution throughout the batter. Using a spatula, I gently lift and turn the mixture, ensuring the cocoa flavor permeates every inch without deflating the air whipped into the batter. This technique is vital; it preserves the lightness while achieving that signature deep hue. I focus on creating a uniform blend, as uneven cocoa distribution can lead to unsightly streaks and inconsistent flavor profiles. Each fold is deliberate, a dance of precision and creativity, enhancing the cake’s overall texture. Mastering this step elevates my baking techniques, transforming a simple cake into a luscious masterpiece that delights the senses.
Step 5. Pour Batter Into Pans
With a steady hand, I pour the velvety batter into my prepared cake pans, ensuring an even distribution that promises a consistent rise. This step is essential in creating perfectly leveled cake layers, and I want my baking techniques to shine. Here’s how I approach it:
- Divide the Batter: I use a scale to measure equal portions for each pan, promoting uniformity.
- Tap the Pans: A gentle tap on the counter releases any trapped air bubbles, preventing uneven textures.
- Smooth the Surface: I glide a spatula across the top, ensuring each layer is impeccably flat.
- Check the Oven Temperature: I double-check the preheated oven, ready for these beauties to transform into decadent cake layers.
This preparation sets the stage for a stunning red velvet masterpiece!
Nutritional Guide
When I whip up a classic red velvet cake, I’m not just indulging in a delightful dessert; I’m also mindful of its nutritional profile. Understanding the caloric content helps me appreciate each slice while exploring the ingredient benefits. For instance, buttermilk adds creaminess and calcium, while cocoa offers antioxidants. Here’s a quick breakdown:
| Ingredient | Nutritional Benefit |
|---|---|
| All-purpose flour | Provides energy and structure |
| Cocoa powder | Rich in antioxidants |
| Buttermilk | Source of calcium and probiotics |
Incorporating these elements not only enhances flavor but also elevates the health quotient of my cake. Each bite becomes a balance between indulgence and nutrition, making my baking experience all the more gratifying.
Final Thoughts
As I reflect on my journey creating a red velvet cake, I realize that this delightful dessert is more than just a visual treat; it’s a celebration of flavor and texture that balances indulgence with nutritional awareness. To elevate your baking experience, consider these baking tips:
- Experiment with buttermilk for a richer taste.
- Don’t skip the vinegar and baking soda; they create the perfect rise.
- Try adding different extracts, like orange or almond, for unique cake variations.
- Frost with a cream cheese or whipped ganache for a decadent finish.
Whether you’re crafting a classic or exploring innovative twists, red velvet is versatile enough to inspire creativity. Enjoy each slice, knowing you’ve mastered a beloved recipe!
Frequently Asked Questions
Can I Substitute Ingredients for a Gluten-Free Red Velvet Cake?
Absolutely, I’ve successfully used gluten-free flour as a substitute in my baking. It’s essential to balance it with other baking substitutes like xanthan gum, ensuring the cake retains its texture and flavor while being gluten-free.
How Do I Store Leftover Red Velvet Cake?
Storing leftover cake is like preserving a masterpiece! I wrap it tightly in plastic, using freezing techniques for long-term cake preservation. This way, I can savor every heavenly bite later without losing any magic!
What Type of Food Coloring Is Best for Red Velvet Cake?
When it comes to food coloring, I prefer gel food coloring for its vibrant hue and consistency. Liquid dye can dilute the batter, while gel provides a rich color without altering the cake’s texture.
Can I Make Red Velvet Cupcakes Instead of a Cake?
Absolutely, I’ve made red velvet cupcakes before! They’re delightful variations of the classic. Just adjust baking time, and you’ll achieve that perfect balance of moistness and flavor. Trust me, your guests will love them!
How Long Does Red Velvet Cake Last in the Fridge?
Did you know properly stored cake can last up to a week in the fridge? To maximize cake longevity, I recommend airtight storage tips. Keeping it sealed helps maintain freshness and flavor for an extended time.
Conclusion
To sum up, mastering the art of red velvet cake has been a delightful journey. Just imagine serving a beautifully layered cake at a friend’s birthday party, the rich, velvety texture prompting guests to ask for seconds. Each slice, with its striking red hue and creamy frosting, creates an unforgettable experience. Baking this classic dessert not only satisfies your sweet tooth but also brings joy to those around you, making every celebration a little sweeter and more memorable.
Red Velvet Cake Recipe
Ingredients
Equipment
Method
- Preheat oven to 350°F (175°C). Grease and line two 9-inch cake pans with parchment paper.
- Whisk dry ingredients: In a large bowl, sift flour, sugar, cocoa powder, baking soda, and salt.
- Mix wet ingredients: In another bowl, beat oil, buttermilk, eggs, food coloring, vanilla, and vinegar until smooth.
- Combine mixtures: Gradually add wet ingredients to dry, mixing until just combined (do not overmix).
- Bake: Divide batter evenly into pans. Bake for 25-30 minutes or until a toothpick comes out clean.
- Cool: Let cakes cool in pans for 10 minutes, then transfer to a wire rack to cool completely.
- Beat cream cheese & butter until smooth and creamy.
- Add powdered sugar gradually, mixing on low speed to avoid lumps.
- Mix in vanilla until fluffy (about 2-3 minutes).
- Level cakes if needed, then place one layer on a plate.
- Frost the top, add the second layer, and cover the entire cake with frosting.
- Chill for 30 minutes before slicing for cleaner cuts.