

I’ve got a fantastic smash cake recipe that’s perfect for your little one’s first birthday! This moist vanilla cake features a light frosting that isn’t overly sweet, making it ideal for tiny taste buds. You can even customize it with healthier ingredients like whole wheat flour and Greek yogurt for extra nutrition. Plus, it’s all about creating joyous memories with your child. If you’re curious about the cooking steps and some fun customization ideas, just stick around!
History
When I think about the origins of the smash cake, I can’t help but smile at how this delightful tradition has evolved over the years. It’s fascinating to see how simple cake traditions have transformed into a vibrant part of birthday celebrations. Initially, cakes were reserved for adults, but as time progressed, the idea of a special cake for little ones emerged. Parents began creating smaller, soft cakes designed for babies to enjoy and explore. This innovation not only captures the joy of a child’s first birthday but also serves as a perfect photo opportunity, preserving precious memories. The smash cake has become a symbol of joy, encouraging creativity and fun in every birthday celebration, uniting families through laughter and sweetness.
Recipe
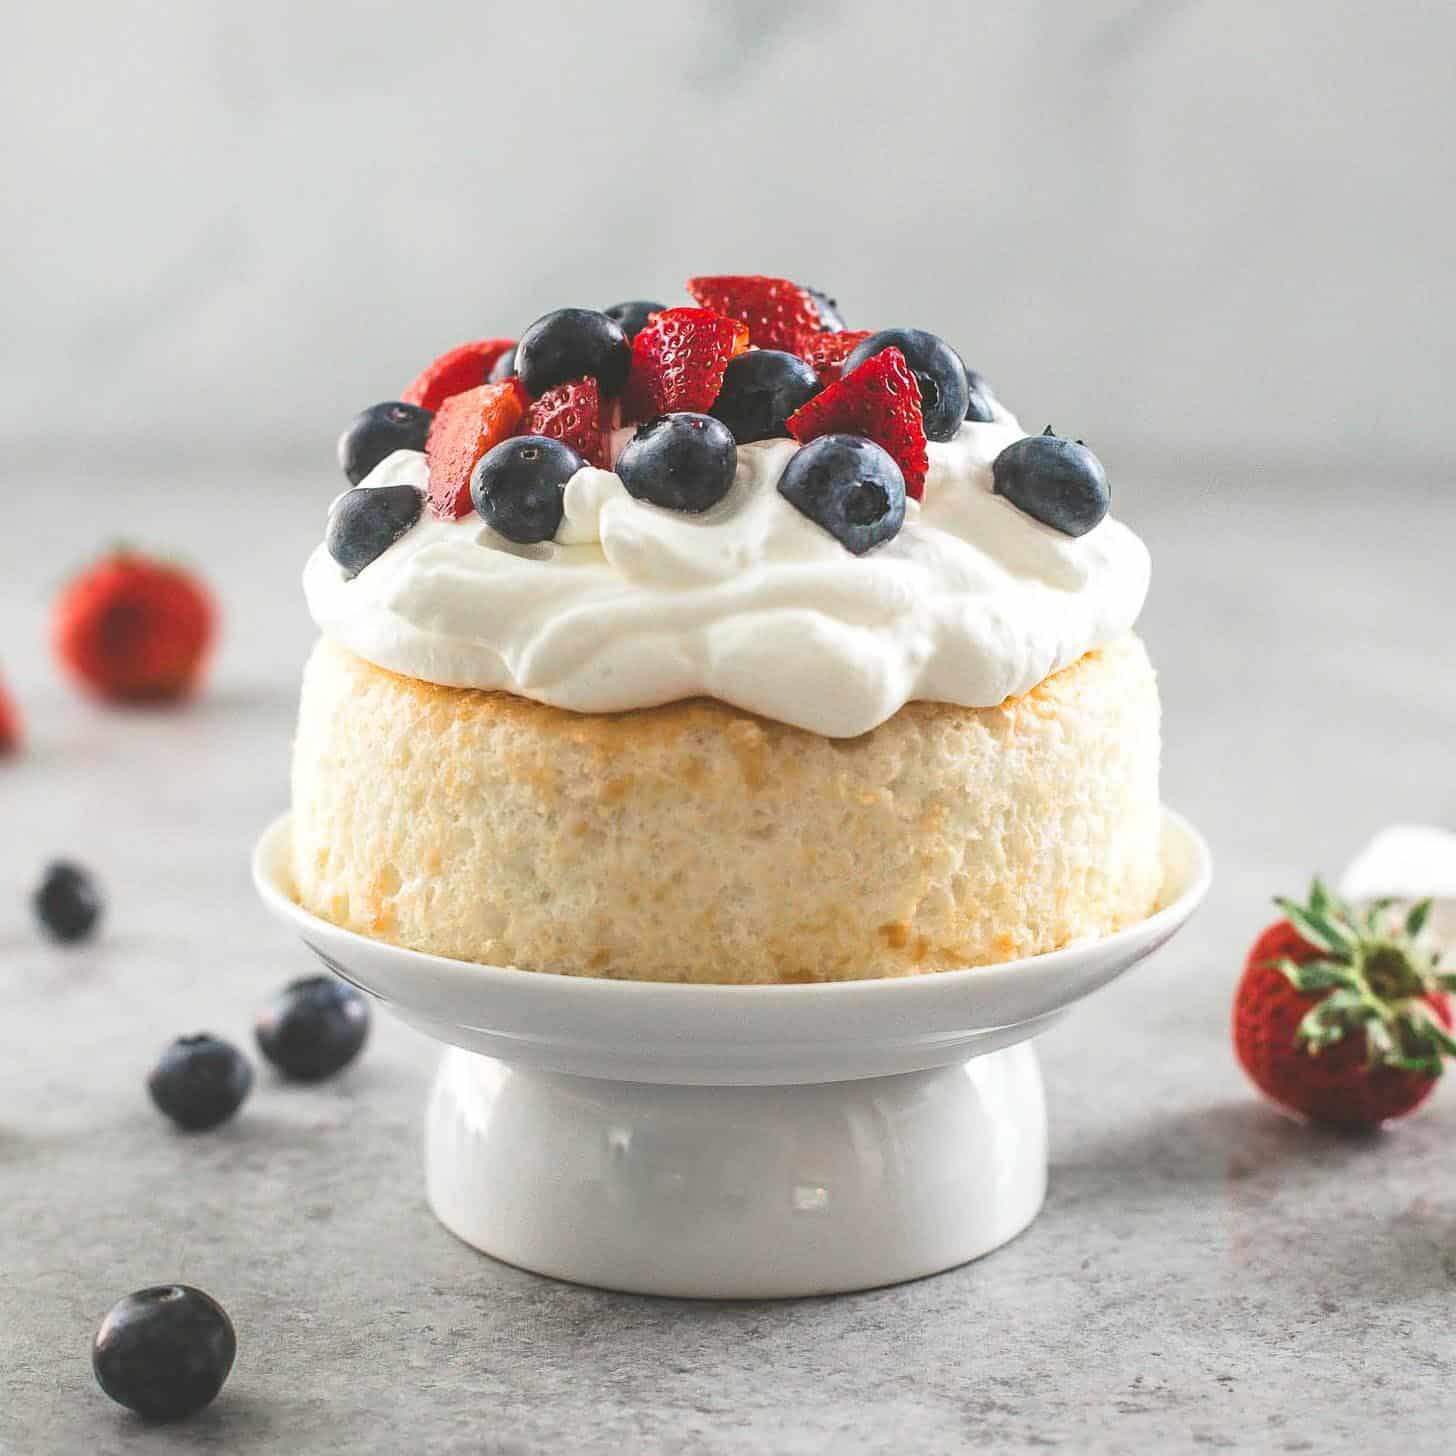
Smash cakes are a fun and adorable way to celebrate a child’s first birthday! These miniature cakes are designed for little ones to dig into, making them a perfect centerpiece for a memorable photo opportunity. The recipe below will guide you through creating a delicious and soft smash cake that your little one will love, while also being simple enough for you to whip up in no time.
Smash cakes add joy and sweetness to a child’s first birthday, creating unforgettable moments and delightful messes!
This smash cake is not only easy to make, but it is also customizable. Feel free to adjust the flavors and decorations according to your child’s preferences or dietary needs. With a moist vanilla base and a light frosting, this cake is sure to be a hit. Plus, it’s a great way to introduce your little one to the joy of cake without overwhelming them with sugar.
Ingredients:
- 1 cup all-purpose flour
- 1 teaspoon baking powder
- 1/2 teaspoon baking soda
- 1/4 teaspoon salt
- 1/2 cup unsalted butter, softened
- 1/2 cup granulated sugar
- 1 large egg
- 1 teaspoon vanilla extract
- 1/2 cup buttermilk
- Optional: food coloring for frosting
Instructions:
Preheat your oven to 350°F (175°C) and grease a 4-inch round cake pan. In a mixing bowl, whisk together the flour, baking powder, baking soda, and salt. In a separate bowl, cream the softened butter and sugar until light and fluffy. Add in the egg and vanilla extract, mixing until combined. Gradually alternate adding the dry ingredients and buttermilk to the butter mixture, stirring until just combined. Pour the batter into the prepared cake pan and bake for about 25-30 minutes, or until a toothpick inserted into the center comes out clean. Allow the cake to cool completely before frosting.
Extra Tips:
When it comes to frosting your smash cake, consider making a simple whipped cream or a light buttercream to keep it soft and easy for your child to dig into. If you’re looking to make it healthier, you can also substitute some of the sugar with applesauce or mashed bananas. Remember to keep the decorations minimal, as the focus should be on the cake itself and the fun your child will have with it! Finally, don’t forget to take plenty of pictures during the big smash—it’s a moment you’ll want to treasure forever!
Cooking Steps
Let’s get cooking! First, I’ll preheat the oven to 350°F, setting the stage for our delicious smash cake. After that, I’ll mix the dry ingredients thoroughly before adding the wet ones gradually to create the perfect batter.
Step 1. Preheat Oven to 350°F
To kick off your smash cake adventure, preheating the oven to 350°F is crucial for achieving that perfect bake. This oven temperature guarantees that your cake rises beautifully and develops a golden crust, setting the stage for delightful textures. While the oven warms up, it’s a great time to gather your ingredients and prepare for the mixing process. Remember, consistency in your batter starts with a well-preheated oven, so don’t skip this step! For the best results, I recommend using an oven thermometer to double-check the accuracy of your oven temperature—this little baking tip can make a big difference. Trust me, taking the time to preheat properly will elevate your smash cake to a whole new level of deliciousness!
Step 2. Mix Dry Ingredients Thoroughly
As you commence on the next step of your smash cake journey, mixing the dry ingredients thoroughly is vital for a well-balanced flavor and texture. Start by sifting together flour, baking powder, and a pinch of salt, ensuring there are no lumps. I often use the whisking technique—this aerates the mixture and guarantees an even distribution of the leavening agents. Pay attention to your ingredient ratios; too much baking powder can lead to a dense cake, while too little can result in a flat disaster. Combining these dry components creates a solid foundation, setting the stage for innovative flavors and delightful surprises in your smash cake. Trust me, this step is essential for achieving that perfect rise and crumb!
Step 3. Add Wet Ingredients Gradually
With the dry ingredients prepped and ready, the next step involves incorporating the wet ingredients. I start by combining eggs, milk, and vanilla in a separate bowl, ensuring the flavors meld perfectly. Using a whisking technique, I gently mix these ingredients to create a smooth blend. Then, I add them gradually to the dry mixture, folding them in carefully. This method helps maintain the right ingredient ratios, ensuring the batter remains light and airy. I find that adding the wet ingredients in increments allows for better absorption, resulting in a beautifully textured cake. Keep whisking until everything’s harmonious—this is where the magic happens! Your smash cake’s foundation begins here, setting the stage for a delightful treat.
Step 4. Pour Batter Into Pans
Now that your batter is perfectly blended, it’s time to pour it into the prepared pans. I always make sure my pans are well-prepared—greased and lined with parchment paper—to prevent any sticking mishaps. As I scoop the batter, I pay close attention to its consistency; it should be smooth and pourable, yet not too runny. I use a spatula to help guide the batter into each pan, ensuring an even distribution. This step is essential for achieving that delightful rise and fluffy texture we all love. I take a moment to gently tap the pans on the counter, releasing any air bubbles. With everything in place, I’m ready to move on to the next exciting phase of baking!
Step 5. Bake for 25 Minutes
Once the batter is evenly distributed in the pans, it’s time to slide them into the preheated oven. As the cakes bake for 25 minutes, I can’t help but admire the delightful aroma wafting through my kitchen. I love watching the transformation, thanks to essential baking techniques that guarantee a perfect rise and texture.
Here’s what I focus on while waiting:
- Check for doneness: A toothpick inserted should come out clean.
- Avoid opening the oven too soon: This helps maintain consistent heat.
- Let them cool: Allow the cakes to rest before moving on to cake decoration, assuring a flawless finish.
With these steps, I’m one step closer to a beautifully crafted smash cake!
Nutritional Guide
While planning your little one’s smash cake celebration, it’s essential to contemplate the nutritional aspects of the cake. I always aim for a balance of flavors and health benefits, so let’s discuss some ingredient substitutions that can enhance the cake’s nutritional profile. Here’s a quick guide to help you make informed choices:
| Ingredient | Nutritional Benefits |
|---|---|
| Whole wheat flour | Higher fiber and nutrients |
| Greek yogurt | Protein-rich and creamy |
| Natural sweeteners | Lower glycemic index |
Final Thoughts
As I reflect on the joy and excitement that a smash cake brings to a celebration, it’s clear that this sweet treat is more than just a delightful dessert—it’s a memorable milestone for your little one. Crafting a smash cake allows you to create unforgettable moments that you’ll cherish for years to come.
Here are a few final thoughts to keep in mind:
- Customization: Tailor flavors and decorations to match your child’s personality and theme.
- Photography: Capture those priceless expressions; the cake’s messy moments are the ones to cherish.
- Simplicity: Keep ingredients simple and wholesome for a worry-free experience.
Embrace these memorable moments, and let the smash cake be a joyous centerpiece of your celebration!
Frequently Asked Questions
What Is the Best Age for a Smash Cake?
I believe the best age for a smash cake is around a child’s first birthday. This cake tradition adds joy to the celebration, letting little ones explore flavors and textures in a delightful, messy way.
How Do I Store Leftover Smash Cake?
When I’ve got leftover cake, I’ve found refrigeration tips suggest wrapping it tightly in plastic. For longer storage, I use freezing methods in an airtight container. It keeps the flavors vibrant and fresh for future enjoyment!
Can I Use Food Coloring for the Cake?
Absolutely, I love using food coloring for vibrant cakes! For a unique twist, I sometimes experiment with natural dyes like beet juice or turmeric. They add beautiful hues while keeping things healthier and more fun.
What Alternatives Exist for Gluten-Free Smash Cakes?
You’d think gluten-free would mean flavorless, but it doesn’t! I’ve experimented with gluten-free flours like almond and coconut, plus alternative sweeteners like maple syrup, creating delicious, innovative treats that’ll satisfy any sweet tooth.
How Can I Decorate the Smash Cake?
When I decorate a cake, I love experimenting with vibrant cake toppings like fresh fruits and edible flowers. For frosting options, I often choose creamy buttercream or colorful whipped cream to create an eye-catching masterpiece.
Conclusion
In the end, making a smash cake is not just about the recipe; it’s about creating a sweet memory that’ll last a lifetime. With a little creativity and love, you’ll turn a simple cake into a joyful experience for your little one. So, roll up your sleeves, embrace the mess, and watch as your baby digs into their sugary treasure. After all, life’s too short to skip the frosting! Happy baking!
Smash Cake Recipe
Ingredients
Equipment
Method
- Preheat oven to 350°F (175°C). Grease two 6-inch cake pans and line with parchment paper.
- Mix milk + vinegar in a bowl; set aside to curdle (vegan buttermilk).
- Whisk flour, baking powder, baking soda, and salt in a bowl.
- In another bowl, mix applesauce, maple syrup, oil, and vanilla. Add the curdled milk.
- Gradually fold wet ingredients into dry until just combined (don’t overmix).
- Divide batter evenly into pans. Bake for 18-22 mins until a toothpick comes out clean.
- Cool in pans for 5 mins, then transfer to a rack.
- Beat cream cheese, yogurt, honey, and vanilla until smooth. Chill for 10 mins.
- Frost cooled cake layers and decorate with fruit or sprinkles.
Notes
- Sugar-Free Option: Replace syrup with mashed banana or omit frosting.
- Storage: Keep refrigerated for up to 2 days. Freeze unfrosted cakes for 1 month.
- Allergy Subs: Use gluten-free flour or oat flour for GF needs.