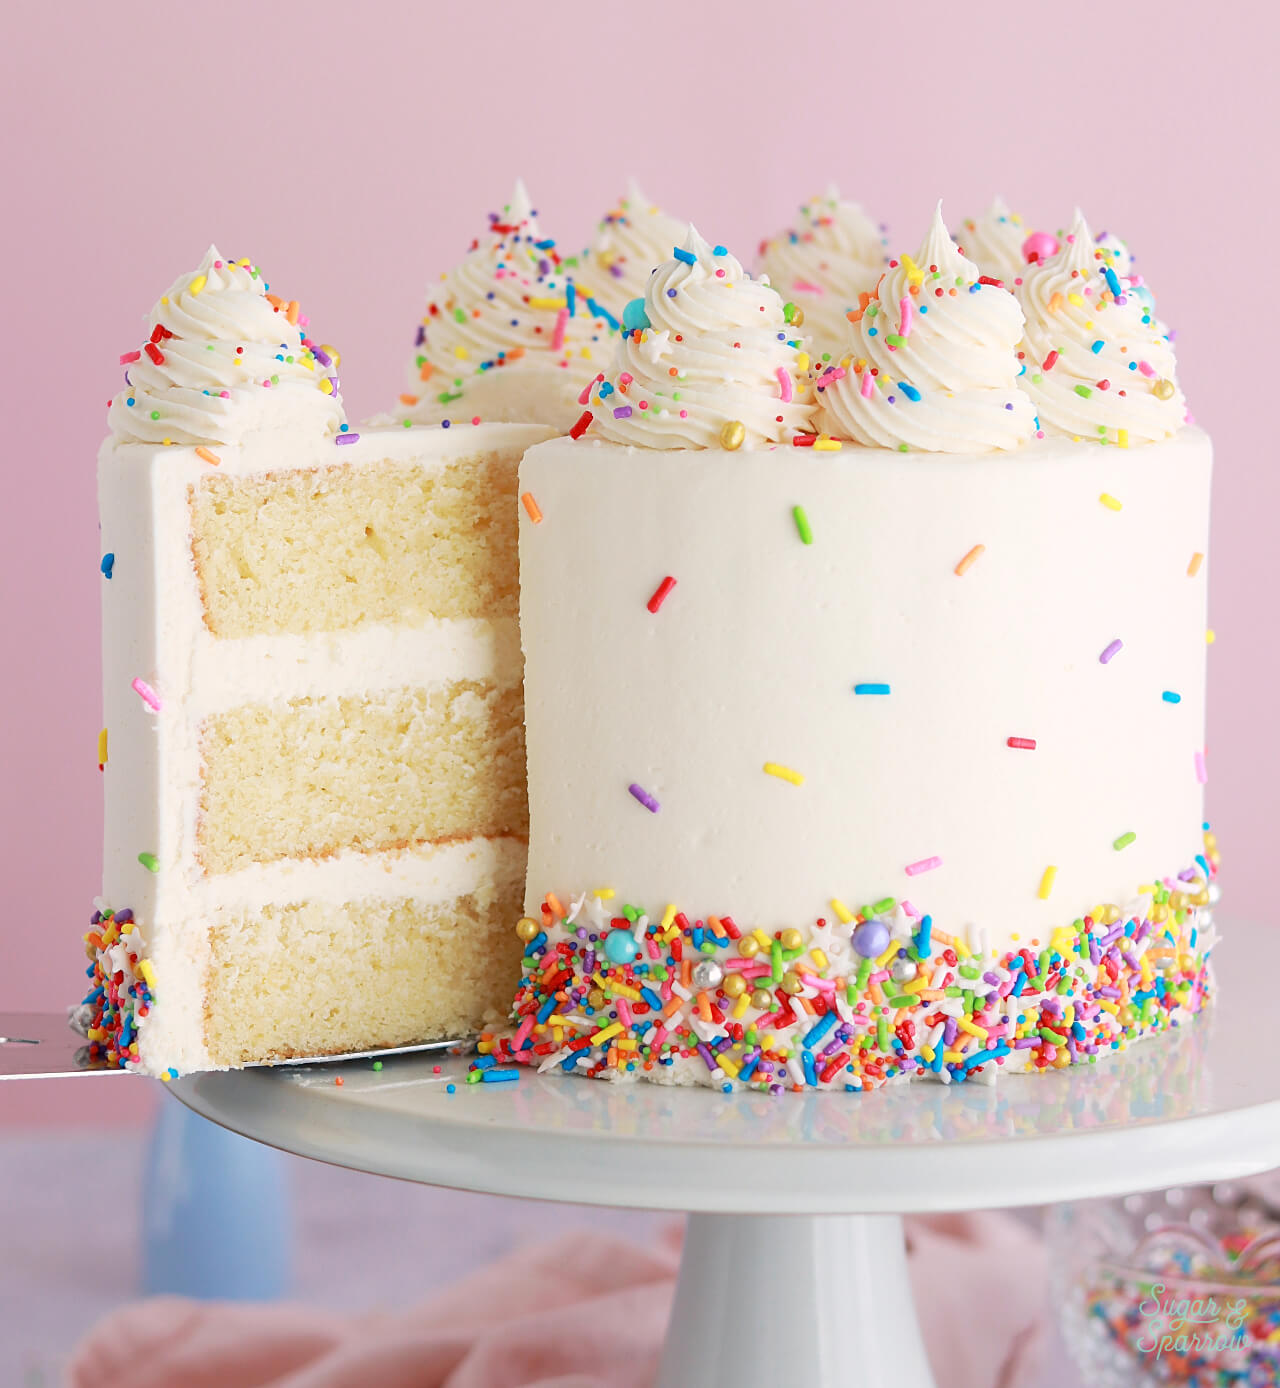
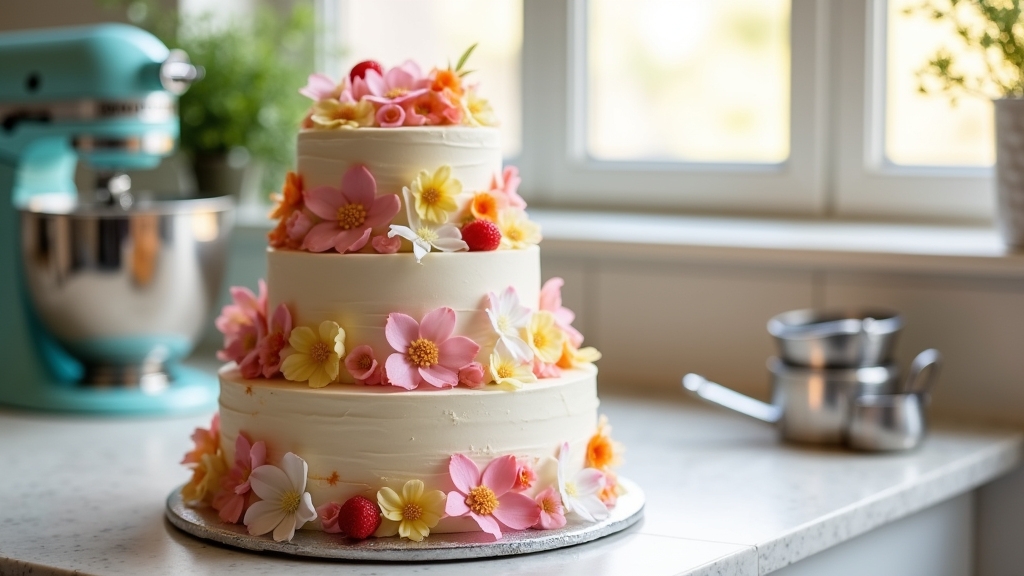
If you’re looking for the best cake recipe, I have just the thing! My classic vanilla cake is both simple and delightful. With just a few quality ingredients—flour, sugar, butter, eggs, and milk—you can create a moist and fluffy treat. The key is to cream the butter and sugar well, and don’t forget to balance your flavors. Trust me, this cake will wow your taste buds! Let me share some tips on baking perfection and delicious decorations.
History
When I think about the history of cake, I can’t help but marvel at how this delightful dessert has evolved over centuries. Its origins trace back to ancient civilizations, where early cakes were more like bread, sweetened with honey and often baked over open flames. As baking techniques advanced, so did our beloved cake. The medieval period introduced richer ingredients, like eggs and sugar, paving the way for what we understand today. The Industrial Revolution further transformed cake-making, introducing mass-produced flour and baking powder, which made it accessible to everyone. Each era shaped the cake’s identity, reflecting cultural shifts and culinary innovations. Today, we’re witnessing a baking evolution, experimenting with flavors and techniques that keep this timeless treat exciting and relevant.
Recipe
Baking a cake is a delightful endeavor that brings together simple ingredients to create a delicious treat perfect for any occasion. Whether it’s a birthday, anniversary, or just a casual gathering, a homemade cake can elevate the event and impress your guests. The beauty of cake-making lies in its versatility; you can experiment with flavors, fillings, and frostings to create a dessert that is uniquely yours. This recipe will guide you through the process of making a classic vanilla cake that is moist, fluffy, and bound to be a crowd-pleaser.
To achieve the best results, it’s essential to use quality ingredients and follow the steps carefully. Prepping your baking tools and ingredients beforehand will make the process smoother and more enjoyable. Also, remember that patience is key in baking—allowing the cake to cool properly before frosting prevents a melty mess and gives you a beautifully finished product. Now, let’s explore the ingredients and instructions for this delicious cake recipe!
Ingredients:
- 2 cups all-purpose flour
- 1 ½ cups granulated sugar
- ½ cup unsalted butter, softened
- 1 cup milk
- 3 ½ teaspoons baking powder
- 1 teaspoon vanilla extract
- ½ teaspoon salt
- 3 large eggs
Instructions:
Preheat your oven to 350°F (175°C) and grease two 9-inch round cake pans. In a large mixing bowl, cream together the butter and sugar until light and fluffy. Add the eggs one at a time, mixing well after each addition. Stir in the vanilla extract. In another bowl, combine the flour, baking powder, and salt. Gradually add the dry ingredients to the wet mixture, alternating with the milk, and mix until just combined. Pour the batter evenly into the prepared pans and bake for 25-30 minutes or until a toothpick inserted into the center comes out clean. Allow the cakes to cool in the pans for 10 minutes before transferring them to wire racks to cool completely.
Extra Tips:
When making your cake, be sure to measure your ingredients accurately for the best texture. It’s also helpful to let your eggs and milk come to room temperature before mixing, as this can lead to a fluffier batter. If you’re looking to add a twist to the classic vanilla flavor, consider folding in some chocolate chips, nuts, or even fruit. Finally, once the cake is completely cool, you can frost it with your favorite icing—cream cheese, buttercream, or even a simple glaze to finish it off. Enjoy your baking adventure!
Cooking Steps
Now that we’ve gathered all our ingredients, it’s time to bring this cake to life! First, I always preheat my oven to 350°F to guarantee an even bake. Then, I mix the dry ingredients thoroughly before adding the wet ones gradually, creating a delightful batter ready for some chocolate chips.
Step 1. Preheat the Oven to 350°F
To kick off the cake-making process, I always preheat my oven to 350°F. This oven temperature is essential, as it guarantees even baking and helps my cake rise perfectly. I love the anticipation that builds up as the oven warms, filling my kitchen with a cozy heat. While waiting, I often think about the baking techniques I’ll employ for the best texture—moist and fluffy. Preheating is like laying the foundation for a masterpiece; it sets the stage for the magic to come. I recommend using an oven thermometer to verify that your oven’s actually reaching that sweet spot. Trust me, starting with the right temperature makes all the difference in creating a cake that’s sure to impress.
Step 2. Mix Dry Ingredients Thoroughly
Mixing the dry ingredients thoroughly is an essential step that sets the tone for your cake’s texture. I start by measuring my flour, sugar, baking powder, and salt with precision, ensuring the ingredient ratios are spot on. Using a whisk, I blend them together, breaking up any clumps and aerating the mixture. This simple yet effective baking technique helps distribute the leavening agents evenly, which is important for a light and fluffy cake. I often add cocoa powder or spices at this stage, enhancing the flavors and giving my cake a unique twist. Remember, the foundation of any great cake lies in these dry ingredients, so don’t rush this step; it’s where the magic begins!
Step 3. Add Wet Ingredients Gradually
As I prepare to add the wet ingredients, I find that doing this gradually makes a world of difference in the final texture of the cake. Start with the liquid wet ingredient types, like milk or oil, slowly pouring them into the dry mixture. This gradual mixing allows the flour to absorb moisture evenly, preventing clumps and ensuring a smooth batter. I often alternate between adding eggs and other wet ingredients, like vanilla extract or melted butter, which further enhances the cake’s flavor and richness. By taking my time and incorporating each addition thoughtfully, I create a batter that’s velvety and light. This simple step elevates my cake from ordinary to extraordinary, ensuring a delightful outcome every time.
Step 4. Fold in Chocolate Chips
With the batter perfectly blended and the texture velvety, it’s time to fold in the chocolate chips. I grab a mix of chocolate chip varieties—semi-sweet, dark, and maybe a sprinkle of white chocolate for flair. Using a gentle folding technique, I carefully incorporate the chips into the batter, ensuring they’re evenly distributed without deflating that luscious texture I’ve worked so hard to achieve. I scoop from the bottom and turn the mixture over, letting the chips nestle in rather than stirring aggressively, which could ruin the cake’s lightness. This step is essential; it adds delightful pockets of melted chocolate in every bite. Trust me, this careful folding will make all the difference in your cake’s decadence!
Step 5. Bake for 25-30 Minutes
After folding in those luscious chocolate chips, I preheat the oven to 350°F (175°C) and prepare to bake the cake for 25 to 30 minutes. This part of the process is essential, as the right baking techniques can transform batter into a masterpiece of cake textures. I pour the batter into a prepared pan, ensuring it’s evenly spread for consistent baking. As the cake bakes, the delightful aroma fills the kitchen, heightening my anticipation. I set a timer for 25 minutes, but I’ll check for doneness with a toothpick. It should come out clean, signaling a moist, fluffy cake. With a little patience, I know the result will be worth the wait—pure indulgence awaits!
Nutritional Guide
While I love the joy of baking a cake, it’s equally important to contemplate its nutritional value. Understanding the caloric content and ingredient benefits can transform your baking experience into a healthier indulgence. Here’s a quick guide that highlights some key aspects of cake ingredients:
| Ingredient | Caloric Content (per cup) | Benefits |
|---|---|---|
| All-purpose flour | 455 | Provides structure and energy |
| Sugar | 774 | Quick energy source |
| Eggs | 155 | Rich in protein and vitamins |
Final Thoughts
As I reflect on the joy of baking, I realize that creating the perfect cake is not just about following a recipe; it’s an art that combines creativity, technique, and a touch of love. Each cake is a canvas waiting for your unique flair. Here are some thoughts to inspire your baking journey:
- Experiment with flavor variations like lavender or spice.
- Master cake decoration techniques to elevate your creation.
- Use quality ingredients for that extra zing.
- Don’t shy away from incorporating unexpected elements, like herbs or zests.
- Remember, the best cakes tell a story—your story.
Frequently Asked Questions
What Type of Flour Is Best for Cake Baking?
When I bake cakes, I often choose cake flour for its fine texture and lower protein content. However, all-purpose flour works too, giving a slightly denser cake. It’s all about the texture you want!
Can I Substitute Eggs in Cake Recipes?
Sure, I thought eggs were essential for cake magic, but I’ve discovered egg alternatives like applesauce or flaxseed work wonders! With innovative vegan options, I’ve baked delightful cakes that surprise everyone. Give it a try!
How Do I Store Leftover Cake Properly?
I store leftover cake by wrapping it tightly in plastic wrap to prevent dryness. For leftover frosting, I keep it in an airtight container in the fridge. This way, I can enjoy it later without losing flavor!
What Are Common Cake Baking Mistakes to Avoid?
When I bake, I’ve learned to avoid overmixing batter; it can ruin texture. Also, I always double-check the oven temperature. A too-hot or too-cool oven can lead to disastrous results. Trust me, it’s essential!
How Can I Make My Cake More Moist?
Making a cake as moist as a summer’s day starts with quality cake ingredients. I’ve found that using buttermilk and proper baking techniques, like not overmixing, keeps my cakes delightfully tender and irresistibly inviting.
Conclusion
As I take a bite of this cake, the rich, velvety chocolate dances on my tongue, contrasting beautifully with the light, airy sponge. Each forkful transports me back to family gatherings, where laughter mingles with the sweet aroma of baking. It’s a perfect blend of nostalgia and indulgence, reminding me that the simplest recipes often hold the most cherished memories. So go ahead, bake this cake, and let it weave its magic into your own story.

Best Cake Recipe
Ingredients
Equipment
Method
- Preheat Oven: Preheat oven to 350°F (175°C). Grease and flour a 9-inch cake pan.
- Dry Ingredients: In a bowl, whisk together flour, baking powder, and salt. Set aside.
- Cream Butter & Sugar: Beat butter and sugar until light and fluffy (3-4 mins).
- Add Eggs & Vanilla: Beat in eggs one at a time, then add vanilla.
- Alternate Mixing: Gradually mix in dry ingredients and milk (starting and ending with flour).
- Bake: Pour batter into the pan and bake for 30-35 mins (until a toothpick comes out clean).
- Cool: Let cool in the pan for 10 mins, then transfer to a wire rack.
Notes
- Storage: Keep in an airtight container for up to 3 days or freeze for 1 month.
- Variations: Add chocolate chips, lemon zest, or cocoa powder for different flavors.
- Frosting: Pairs well with buttercream, cream cheese frosting, or whipped cream.

