

I love making mug cakes—they’re quick and oh-so-easy! Just mix 4 tablespoons of flour, 4 tablespoons of sugar, 2 tablespoons of cocoa powder, 3 tablespoons of milk, and 2 tablespoons of vegetable oil in a microwave-safe mug. Microwave it for about 1 minute and 30 seconds, then top it off with your favorite treats. It’s a delightful dessert ready in no time! If you’re curious about variations or tips, there’s so much more to discover!
History
When I think about the history of mug cakes, I can’t help but marvel at how this simple dessert has evolved over time. The mug cake origins trace back to the mid-1980s, when busy home cooks sought quick and easy ways to satisfy their sweet cravings. As microwaves became commonplace, innovative minds experimented with single-serving desserts, and voilà—a new culinary evolution began. These delightful creations quickly gained popularity on social media, inspiring countless variations and flavor combinations. Today, mug cakes symbolize convenience and creativity, allowing anyone to whip up a delicious treat in minutes. It’s fascinating to see how technology and societal changes have shaped this beloved dessert, making it a staple in kitchens everywhere.
Recipe
Mug cakes are the perfect solution for those late-night cravings or when you’re short on time but still want a delicious dessert. With just a few ingredients and a microwave, you can whip up a delightful treat in a matter of minutes. This single-serving cake is not only easy to make but also customizable to fit your taste preferences. Whether you prefer chocolate, vanilla, or even a fruity flavor, the possibilities are endless!
To prepare a mug cake, you’ll need a microwave-safe mug and a few pantry staples. The beauty of a mug cake lies in its simplicity—you can mix everything in the mug itself, which means less cleanup. Once you have your ingredients ready, follow the instructions to create a warm, gooey cake that’s perfect for one. Let’s plunge into the ingredients and get started on this quick and satisfying dessert!
Prepare a mug cake effortlessly in your microwave-safe mug—less cleanup, more deliciousness! Let’s dive into this quick dessert adventure!
Ingredients:
- 4 tablespoons all-purpose flour
- 4 tablespoons granulated sugar
- 2 tablespoons unsweetened cocoa powder (for a chocolate cake)
- 1/8 teaspoon baking powder
- 3 tablespoons milk
- 2 tablespoons vegetable oil
- 1/4 teaspoon vanilla extract
- A pinch of salt
- Optional toppings (chocolate chips, nuts, whipped cream)
To make your mug cake, start by combining the flour, sugar, cocoa powder, baking powder, and salt in the microwave-safe mug. Mix the dry ingredients well to guarantee an even distribution. Next, add the milk, vegetable oil, and vanilla extract to the dry mixture. Stir until you achieve a smooth batter, making sure there are no lumps. If you want to add chocolate chips or nuts, fold them into the batter at this stage. Microwave the mug cake on high for about 1 minute and 30 seconds, but keep an eye on it to prevent overflowing. Once it’s cooked, let it cool for a minute before indulging!
For the best results, remember that microwaves can vary in power, so you might need to adjust the cooking time slightly. If your cake isn’t fully cooked after the initial time, add 10-second increments until it’s set but still moist. You can also experiment with flavors and textures by adding things like a spoonful of peanut butter or a sprinkle of cinnamon. Finally, be sure to serve your mug cake warm for the best experience, and don’t hesitate to top it off with your favorite ice cream or whipped cream for an extra special treat!
Cooking Steps
Now that we have our ingredients ready, let’s get started on the cooking steps that’ll bring our mug cake to life. I usually begin by mixing the dry ingredients together, ensuring they’re well combined before adding the wet ones. Once everything’s blended, it’s time to pop it in the microwave and watch the magic happen!
Step 1. Mix Dry Ingredients First
To kick off this mug cake adventure, I always start by mixing the dry ingredients first. This step sets the foundation for a perfectly fluffy cake. I grab my favorite mug and combine flour, cocoa powder, sugar, and a pinch of salt, ensuring I adhere to ideal dry ingredient ratios. Using a whisk, I employ gentle mixing techniques to avoid clumps, allowing the ingredients to blend seamlessly. It’s fascinating how these simple elements come together, creating a uniform base that promises deliciousness. I make sure to sift the cocoa powder; it’s a game-changer for achieving that rich chocolate flavor. With everything combined, I can’t wait to move on to the next step—adding the wet ingredients for that magical transformation!
Step 2. Add Wet Ingredients Next
Once I’ve got my dry ingredients perfectly blended, it’s time to introduce the wet ones that’ll bring everything to life. I start with a classic—milk or a plant-based alternative works wonders. For added richness, I often toss in a splash of vanilla extract. If I’m feeling adventurous, I’ll swap in flavored yogurt or even a dollop of nut butter for a twist!
Here’s a wet ingredient tip: if you’re out of eggs, a tablespoon of applesauce can do the trick. Just remember to mix these ingredients well; they need to coat every bit of flour so the mug cake rises beautifully. Embrace the freedom of ingredient substitutions to create a masterpiece that reflects your taste!
Step 3. Microwave for One Minute
With the wet ingredients fully incorporated, it’s time to take this delightful mixture to the microwave. I’ll set my microwave to high and pop the mug cake in for one minute. Keep an eye on it; you want that perfect rise without overflowing—microwave safety is key! In just a minute, you’ll have a warm, fluffy dessert ready to enjoy.
Here are a few tips to enhance your experience:
- Use a microwave-safe mug to prevent any mishaps.
- Avoid overcooking; a minute is usually perfect for quick desserts.
- Let it cool slightly to avoid burns.
- Experiment with different flavors for a unique twist.
- Enjoy it straight from the mug for minimal cleanup!
And there you have it—deliciousness in no time!
Step 4. Add Toppings Before Serving
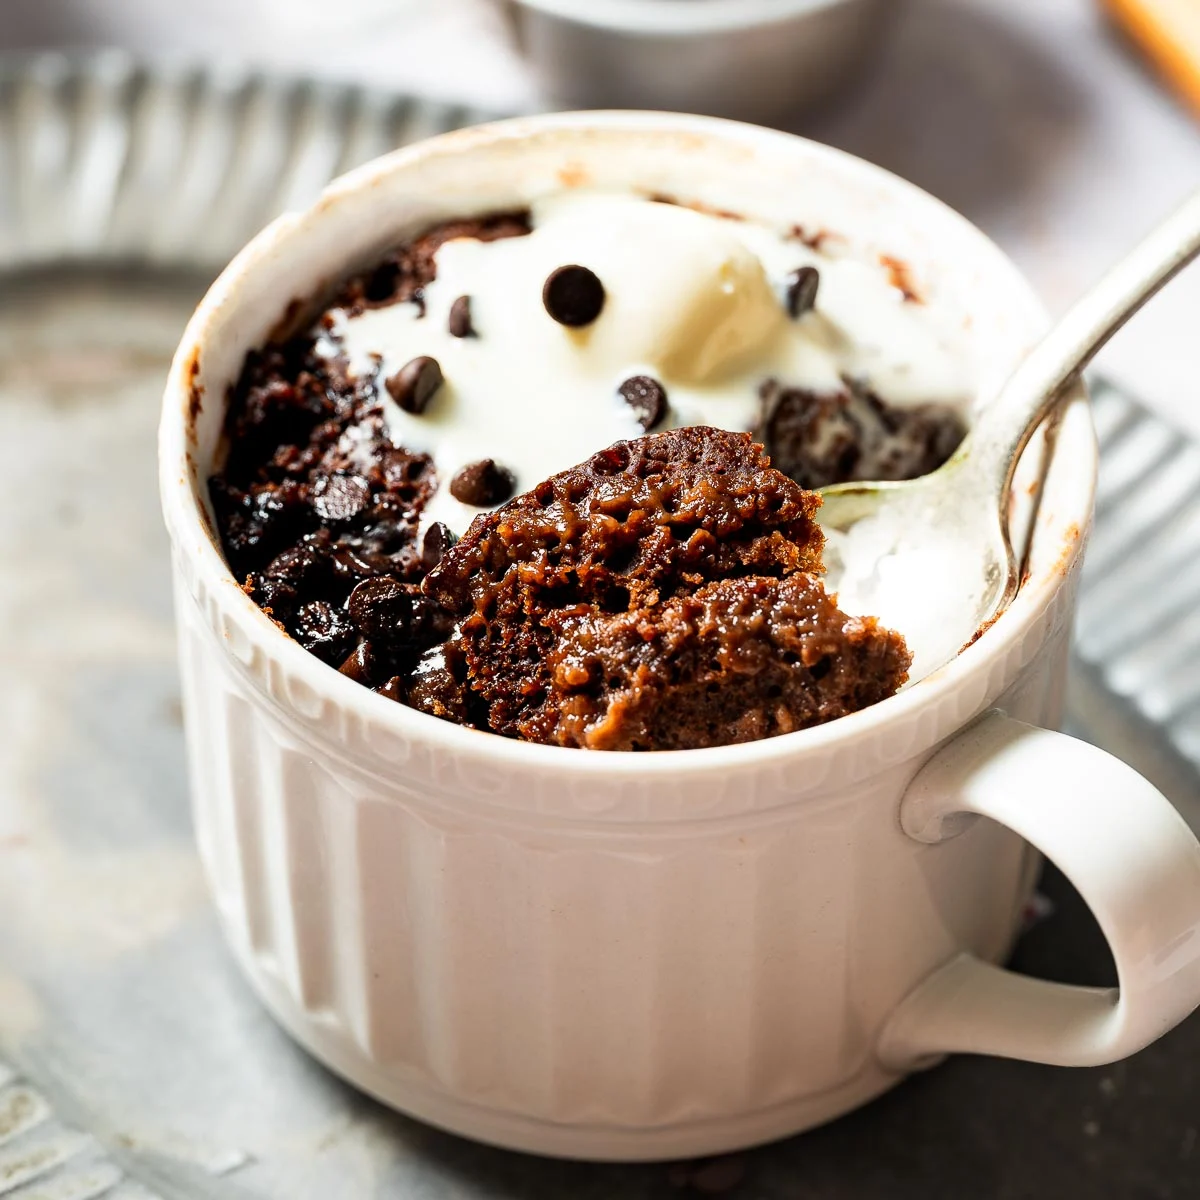
As the warm mug cake cools just a bit, I can’t help but think about the endless possibilities for toppings that will elevate this simple dessert into something truly special. One of my favorite topping suggestions is a dollop of whipped cream, which adds a lightness that perfectly complements the cake’s richness. Fresh berries, like raspberries or strawberries, not only bring a burst of color but also a invigorating tartness. If you’re in the mood for decadence, drizzle melted chocolate or caramel sauce over the top. For a fun twist, consider adding a sprinkle of crushed nuts or a scoop of ice cream. These serving ideas can transform your mug cake into a delightful masterpiece that’s sure to impress!
Step 5. Let Cool Before Eating
After you’ve adorned your mug cake with all those delightful toppings, it’s tempting to dig in right away. But trust me, waiting is worth it! Letting your cake cool not only enhances its texture but also brings out the flavors. Cooling methods can vary, but I usually leave mine at room temperature for about 5-10 minutes. If you want it cooler faster, you could pop it in the fridge for a few minutes.
Here are some serving suggestions while you wait:
- Pair with a scoop of ice cream
- Drizzle with warm chocolate sauce
- Sprinkle with sea salt for contrast
- Add fresh berries for a tart kick
- Serve with a dollop of whipped cream
Enjoy the anticipation; it’ll be delicious!
Nutritional Guide
While enjoying a delicious mug cake, it’s important to contemplate its nutritional content to balance indulgence with well-being. Understanding the caloric content and ingredient benefits can enhance your experience and guilt-free enjoyment.
Here’s a quick guide to the nutritional aspects of a typical mug cake:
| Ingredient | Caloric Content (per serving) | Benefits |
|---|---|---|
| All-purpose flour | 150 | Provides energy |
| Sugar | 100 | Quick energy boost |
| Cocoa powder | 25 | Antioxidants |
| Egg | 70 | Protein for muscle health |
| Milk | 50 | Calcium for bone strength |
This table helps me appreciate the balance of flavors and nourishment in my mug cake creation. Enjoy experimenting with variations while considering these insights!
Final Thoughts
Savoring the simple pleasure of a mug cake brings a sense of comfort that’s hard to beat. It’s my go-to option when I need a quick dessert that satisfies my sweet tooth without the fuss. The beauty lies in its versatility—each mug cake feels like a personal creation. Here are a few reasons why I adore this satisfying treat:
Mug cakes offer quick, customizable comfort that turns any moment into a delightful indulgence.
- It’s ready in minutes, perfect for busy days.
- You can customize flavors to match your cravings.
- Cleanup is a breeze—just one mug!
- It’s a fun way to experiment with ingredients.
- Perfect for sharing (or not!).
Whether it’s a cozy night in or a spontaneous afternoon pick-me-up, mug cakes are a delightful indulgence that never disappoints.
Frequently Asked Questions
Can I Use a Different Type of Flour for Mug Cakes?
I love experimenting with alternative flour options like almond or coconut flour. Just keep in mind the flour texture differences; they can change the final product’s moisture and density, but it’s worth the adventure!
How Do I Store Leftover Mug Cake?
To store leftover mug cake, I refrigerate it in an airtight container. When I’m ready to indulge again, I use reheating methods like the microwave, ensuring it stays moist and delicious. Enjoy every bite!
Are Mug Cakes Suitable for Gluten-Free Diets?
Did you know that about 1 in 100 people face gluten sensitivity? I’ve found that using gluten-free ingredients and clever baking substitutes lets everyone enjoy a delightful treat, ensuring no one misses out on deliciousness!
Can I Make Mug Cakes in the Oven?
Absolutely, I love making mug cakes in the oven! Preheat it to 350°F, then bake for about 15-20 minutes. The result is a fluffy treat with a delightful texture, perfect for satisfying my sweet cravings!
What Toppings Pair Well With Mug Cakes?
When it comes to toppings, I love experimenting with chocolate ganache, whipped cream, fresh fruit, nut butter, caramel sauce, and sprinkles. Each adds a unique twist, making every bite a delightful experience you won’t forget!
Conclusion
As I take that first warm bite of my mug cake, it feels like a cozy hug on a chilly evening. This simple recipe has transformed my late-night cravings into a delightful ritual, reminding me that joy can be just a few minutes away. So, whether you’re treating yourself or sharing with a friend, let this mug cake be your sweet escape. After all, life is too short not to indulge in little moments of happiness.
Mug Cake Recipe
Ingredients
Equipment
Method
- In a microwave-safe mug, whisk together flour, sugar, cocoa powder, baking powder, and salt.
- Stir in milk, oil, and vanilla extract until smooth.
- Fold in chocolate chips (if using).
- Cook on high for 60-90 seconds (microwave times vary; stop when the cake is just set).
- Let cool for 1 minute. Enjoy as-is or top with ice cream, whipped cream, or extra chocolate chips!
Notes
- Microwave Power: Adjust cooking time based on wattage (e.g., 60 sec for 1000W, 90 sec for 700W).
- Flavor Variations: Add peanut butter, caramel drizzle, or a dash of cinnamon.
- Gluten-Free: Substitute flour with almond flour or gluten-free baking mix.
- Vegan: Use plant-based milk and replace chocolate chips with dairy-free ones.