

I love baking small cakes; they’re simple yet so satisfying! You’ll need 1 cup of flour, 1/2 cup sugar, 1/2 teaspoon baking powder, 1/4 teaspoon salt, and 1/2 cup softened butter. Cream the butter and sugar, mix in eggs and dry ingredients, then bake at 350°F for 25-30 minutes. The result is tender and delicious, perfect for any occasion. If you’re excited to explore baking tips and variations, there’s so much more to discover!
History
When I explore the history of small cakes, I can’t help but marvel at how these delightful treats have evolved over the centuries. The cake origins date back to ancient civilizations, where simple mixtures of grain and honey paved the way for the sweet wonders we enjoy today. As baking traditions flourished, especially in Europe, the concept of small cakes emerged, offering a personal touch to celebrations. These bite-sized delights became synonymous with joy, often adorned with fruits and spices, reflecting local flavors. Innovations in baking techniques, like the introduction of baking powder, further transformed small cakes into the fluffy creations we adore. Each bite tells a story of cultural evolution, making small cakes not just desserts but a celebration of culinary history.
Recipe
Baking a small cake is a delightful way to satisfy your sweet tooth without the commitment of a large dessert. Perfect for small gatherings or just an afternoon treat, this recipe allows you to whip up a delicious cake with minimal effort and ingredients. Whether you’re celebrating a special occasion or simply indulging in a sweet craving, this small cake will surely hit the spot.
Baking a small cake is a simple yet delightful way to satisfy cravings for something sweet, perfect for any occasion.
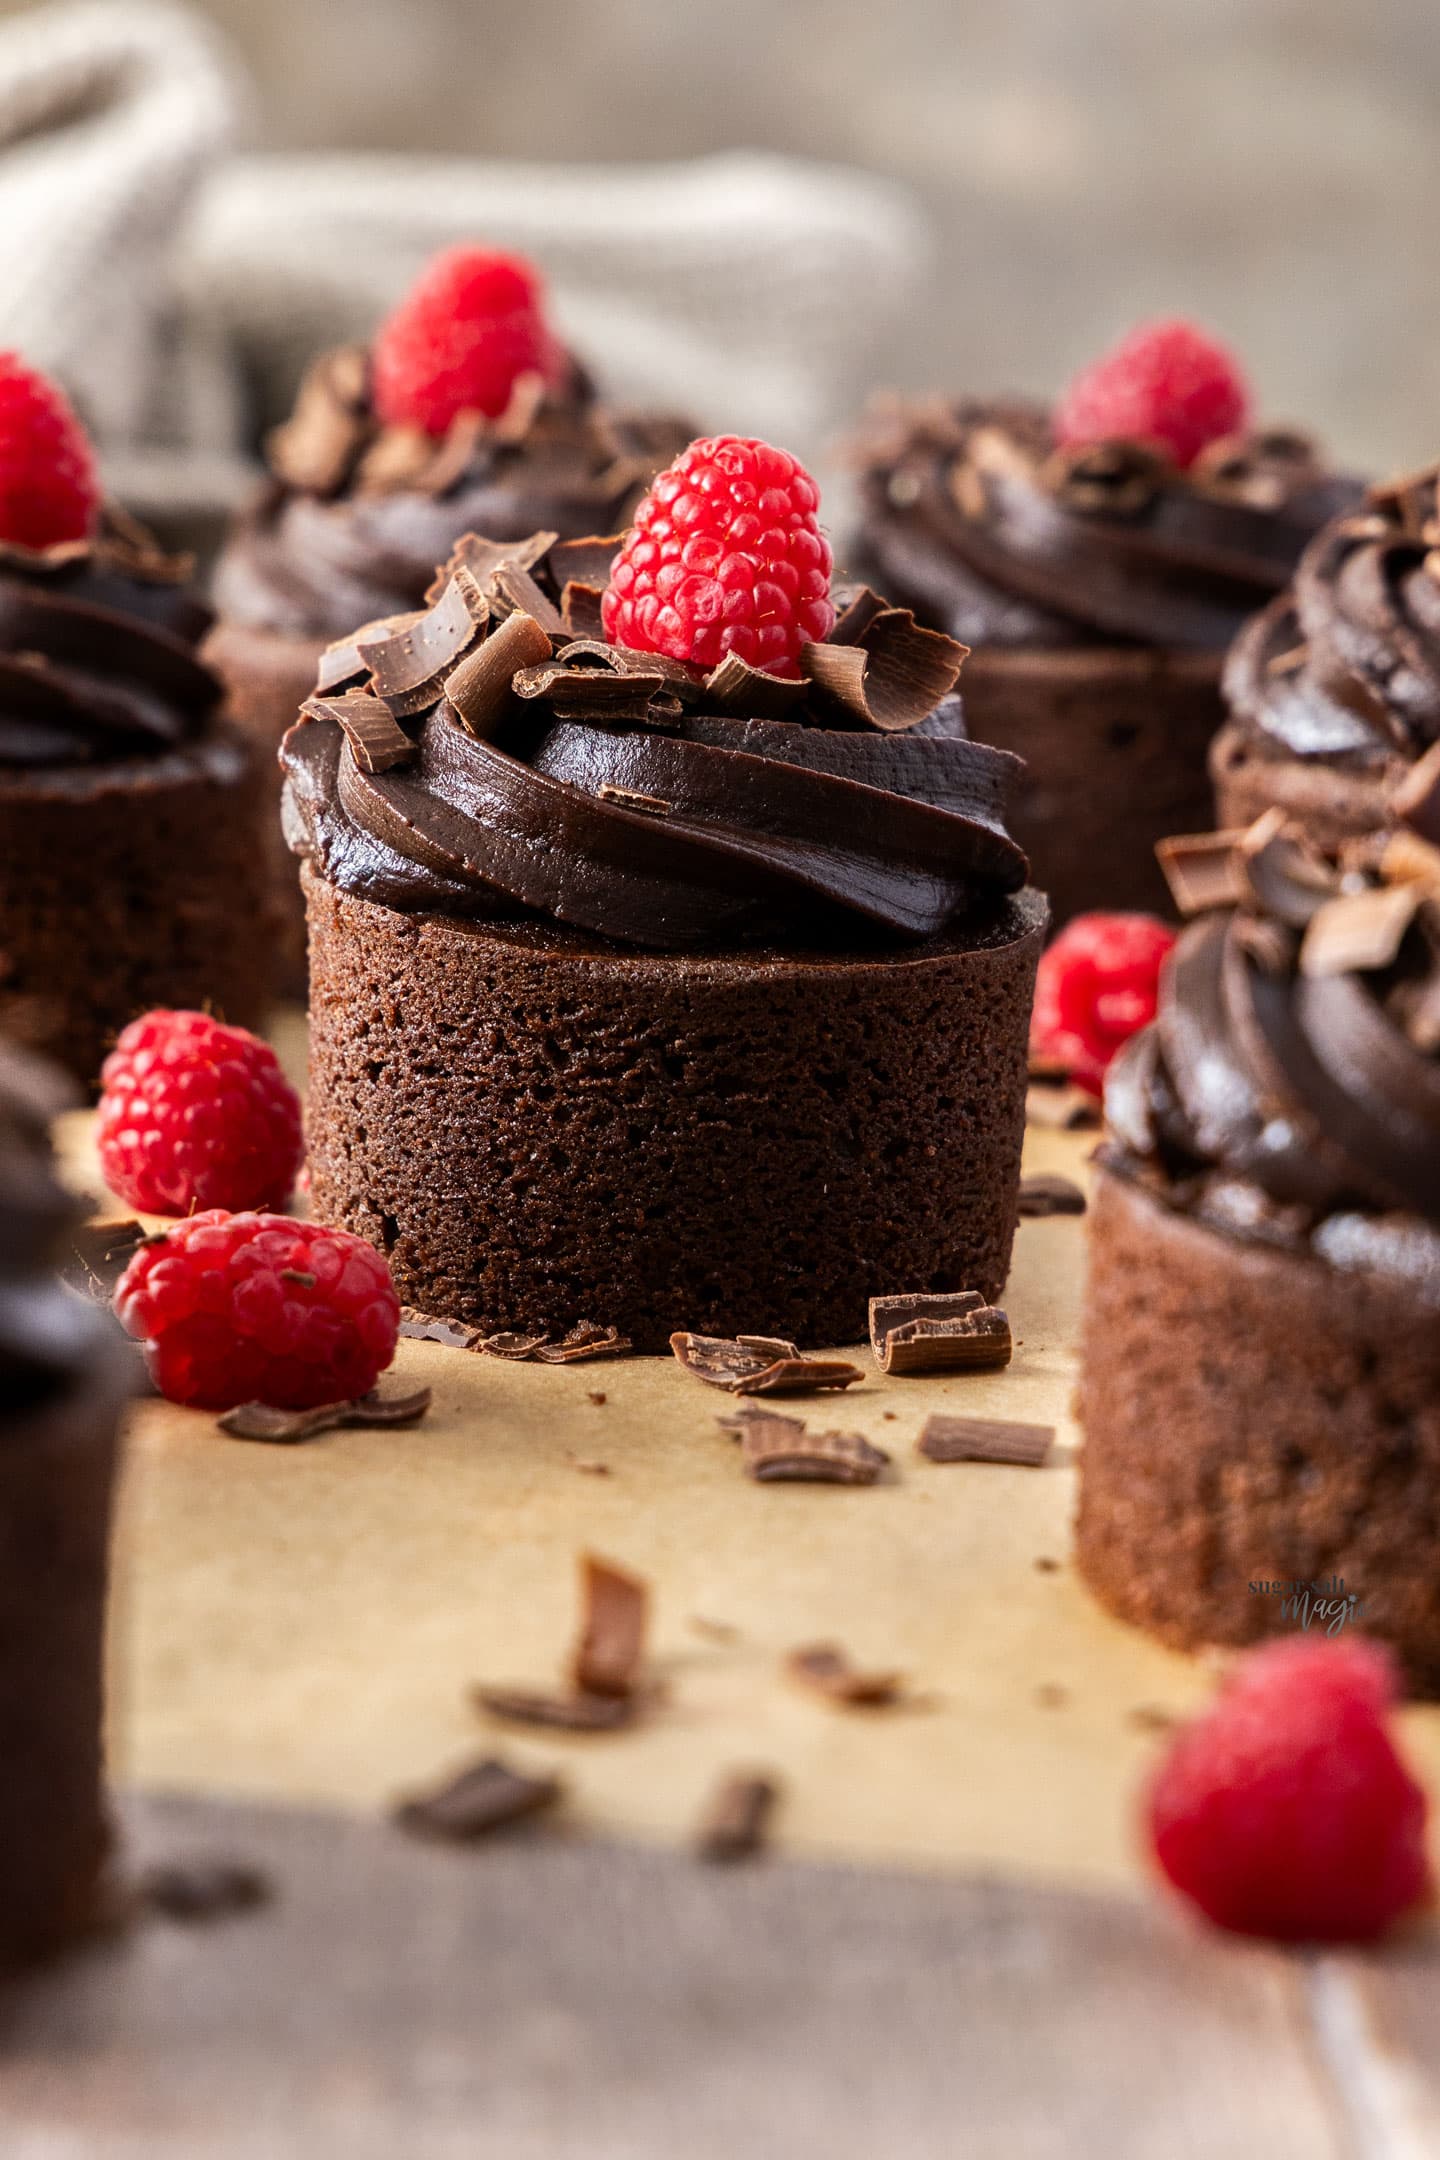
The beauty of this recipe lies in its simplicity and versatility. You can enjoy it as is, or add your favorite frosting, icing, or fruit toppings to elevate the flavor. With just a few basic ingredients, you can create a moist and flavorful cake that will impress your family and friends. Let’s get started!
Ingredients:
- 1 cup all-purpose flour
- 1/2 cup granulated sugar
- 1/2 teaspoon baking powder
- 1/4 teaspoon salt
- 1/2 cup unsalted butter, softened
- 2 large eggs
- 1 teaspoon vanilla extract
- 1/4 cup milk
Cooking Instructions:
Preheat your oven to 350°F (175°C) and grease a small cake pan (around 6 inches). In a mixing bowl, cream together the softened butter and sugar until light and fluffy. Add in the eggs one at a time, mixing well after each addition. Stir in the vanilla extract. In a separate bowl, combine the flour, baking powder, and salt. Gradually add the dry ingredients to the butter mixture, alternating with the milk, and mix until just combined. Pour the batter into the prepared cake pan and bake for 25-30 minutes or until a toothpick inserted into the center comes out clean. Allow the cake to cool in the pan for a few minutes before transferring it to a wire rack to cool completely.
Extra Tips:
When baking your small cake, be mindful of oven temperatures as they can vary. It’s always a good idea to check your cake a few minutes before the minimum baking time to avoid overbaking. If you want to add a twist to your cake, consider incorporating chocolate chips, nuts, or citrus zest into the batter. Additionally, when cooling your cake, make sure it’s completely cooled before frosting to prevent melting. Enjoy your baking adventure!
Cooking Steps
Let’s get started on making this delicious small cake! First, I’ll preheat the oven to 350°F to guarantee it’s ready for our batter. Then, I’ll guide you through mixing the dry ingredients and adding the wet ones, creating a perfect blend for a delightful treat.
Step 1. Preheat the Oven to 350°F
Before you plunge into mixing your ingredients, preheating the oven to 350°F is crucial for achieving that perfect cake texture. This oven temperature isn’t just a number; it’s the sweet spot where your cake transforms from batter to a fluffy delight. I always set my oven first, allowing it to reach that ideal heat while I prepare my mixture. It guarantees an even bake, preventing that dreaded sink in the middle. A few baking tips: use an oven thermometer to confirm accuracy, as some ovens can be tricky. Once the oven signals it’s ready, you’ll feel that excitement building, knowing your cake is on the verge of becoming a delicious masterpiece. Let’s get baking!
Step 2. Mix Dry Ingredients Thoroughly
Whisking together the dry ingredients is an essential step that sets the foundation for your cake’s flavor and texture. I start by carefully measuring flour, sugar, baking powder, and a pinch of salt, ensuring the ingredient ratios are just right. Using a whisk, I incorporate these components, employing gentle mixing techniques to create a uniform blend. This process not only aerates the flour but also prevents clumps, which can lead to uneven baking. I pay special attention to the balance of flavors; too much sugar can overpower, while insufficient baking powder can lead to a dense cake. By thoroughly mixing these dry ingredients, I’m laying the groundwork for a delightful cake that’s both innovative and delicious.
Step 3. Add Wet Ingredients Gradually
As I prepare to bring my cake to life, adding the wet ingredients gradually is essential for achieving a smooth batter. This technique not only helps in better incorporating the components but also guarantees the perfect wet ingredient ratios for an innovative flavor profile. Here’s how I do it:
- Begin with room temperature eggs and milk for seamless blending.
- Pour the wet ingredients in a slow, steady stream while mixing continuously.
- Use a whisk or mixer at low speed to avoid overmixing.
- Let the batter rest briefly before the next addition to enhance texture.
Step 4. Fold in Chocolate Chips
With the batter now perfectly mixed, it’s time to add a touch of decadence by folding in chocolate chips. I love using a mix of semi-sweet and dark chocolate chips for a rich flavor, but feel free to experiment with chocolate chip variations like white chocolate or even peanut butter chips. To fold them in, I gently scoop from the bottom and turn the batter over, ensuring the chips are evenly distributed without overmixing. This baking technique preserves the fluffy texture we’ve worked hard to achieve. Remember, the goal is to create pockets of melted chocolate that’ll burst with flavor in every bite. Trust me, this simple step elevates the cake to new heights of indulgence!
Step 5. Pour Batter Into Pan
Now that our batter is infused with delicious chocolate chips, it’s time to pour it into the prepared pan. This step is essential for achieving the perfect cake texture, and I always like to use a few simple baking techniques to guarantee success.
- Use a spatula: This helps scrape the sides of the bowl and guarantees every last bit of batter is transferred.
- Tap the pan: Gently tap it on the counter to release any air bubbles and promote an even rise.
- Level the batter: Smooth the top with the spatula for a uniform surface.
- Check the consistency: Make sure the batter flows smoothly—this indicates a well-mixed blend.
Nutritional Guide
When I whip up a small cake, I can’t help but think about the delightful balance between indulgence and nourishment. It’s fascinating how each ingredient contributes not just flavor but also nutritional value. For instance, using whole grains instead of refined flour enhances the fiber content, while adding fruits boosts vitamins. Here’s a quick look at the caloric content and ingredient benefits:
| Ingredient | Caloric Content (per serving) |
|---|---|
| Whole Wheat Flour | 70 calories |
| Greek Yogurt | 50 calories |
| Fresh Berries | 30 calories |
These choices keep the cake lighter and more nutritious without sacrificing taste. So, when you indulge, you can feel good knowing you’re also nourishing your body!
Final Thoughts
As I reflect on the joy of baking a small cake, I realize it’s more than just a treat; it’s an opportunity to create something special that nourishes both body and soul. Each cake I bake holds the potential for creativity and innovation. Here are a few baking tips and cake variations to inspire your journey:
- Experiment with unique flavor profiles, like lavender or matcha.
- Substitute ingredients for healthier options, such as applesauce instead of oil.
- Try different frosting techniques to elevate the presentation.
- Don’t hesitate to incorporate seasonal fruits for freshness.
Baking a small cake is an intimate experience that fosters connection—whether sharing with loved ones or savoring a moment to yourself. Embrace the process; the possibilities are endless!
Frequently Asked Questions
Can I Use Gluten-Free Flour for This Small Cake Recipe?
Absolutely, I’ve used gluten-free options like almond or coconut flour before, and they work beautifully! Just remember to adjust the baking time. Flour substitutes can create delightful textures and flavors—experimenting can lead to delicious surprises!
How Do I Adjust Baking Time for Mini Cake Pans?
When I bake in those tiny mini pans, I watch the clock like a hawk. Reducing the baking time by about 5-10 minutes and ensuring the temperature’s right makes those little cakes perfectly fluffy!
What Are Some Common Cake Decoration Ideas?
I love exploring cake decoration ideas! Cake toppers add personality, while icing techniques like rosettes or marbling create stunning visuals. Experimenting with colors and textures makes each cake uniquely yours—let your creativity shine through!
Can I Freeze Leftovers From This Small Cake?
I once stored leftover cake in airtight containers, and it felt like tucking away a treasure. For freezing tips, make sure to wrap it tightly—your sweet creation will stay delicious until you’re ready to indulge again!
What Flavor Variations Can I Try With This Recipe?
I love experimenting with flavors! For a twist, try chocolate orange for a rich, zesty delight or vanilla almond for a subtle, nutty sweetness. Each variation adds a unique touch that’ll impress your taste buds!
Conclusion
So, there you have it—a small cake that’s perfect for those of us who want to indulge without committing to a full-blown sugar binge. Who needs a bakery when you can whip up this little masterpiece in your own kitchen? I mean, why eat a slice of life when you can have a slice of cake? Remember, every bite is a tiny victory against adulthood. So go ahead, embrace your inner child and get baking—because calories don’t count if they’re small, right?
Small Cake Recipe
Ingredients
Equipment
Method
- Preheat oven to 350°F (175°C).
- Grease a 6-inch cake pan and line the bottom with parchment paper.
- In a bowl, whisk together flour, sugar, baking powder, and salt.
- In another bowl, mix melted butter, egg, milk, and vanilla extract.
- Gradually add the wet ingredients to the dry ingredients, stirring until just combined (do not overmix).
- Pour batter into the prepared pan and smooth the top.
- Bake for 20-25 minutes or until a toothpick inserted comes out clean.
- Let the cake cool in the pan for 10 minutes, then transfer to a wire rack.
- Serve plain or with frosting, berries, or whipped cream.
Notes
- Storage: Keep in an airtight container for up to 3 days or freeze for longer shelf life.
- Variations: Add chocolate chips, lemon zest, or cocoa powder for different flavors.
- For a layered cake: Double the recipe and use two 6-inch pans.